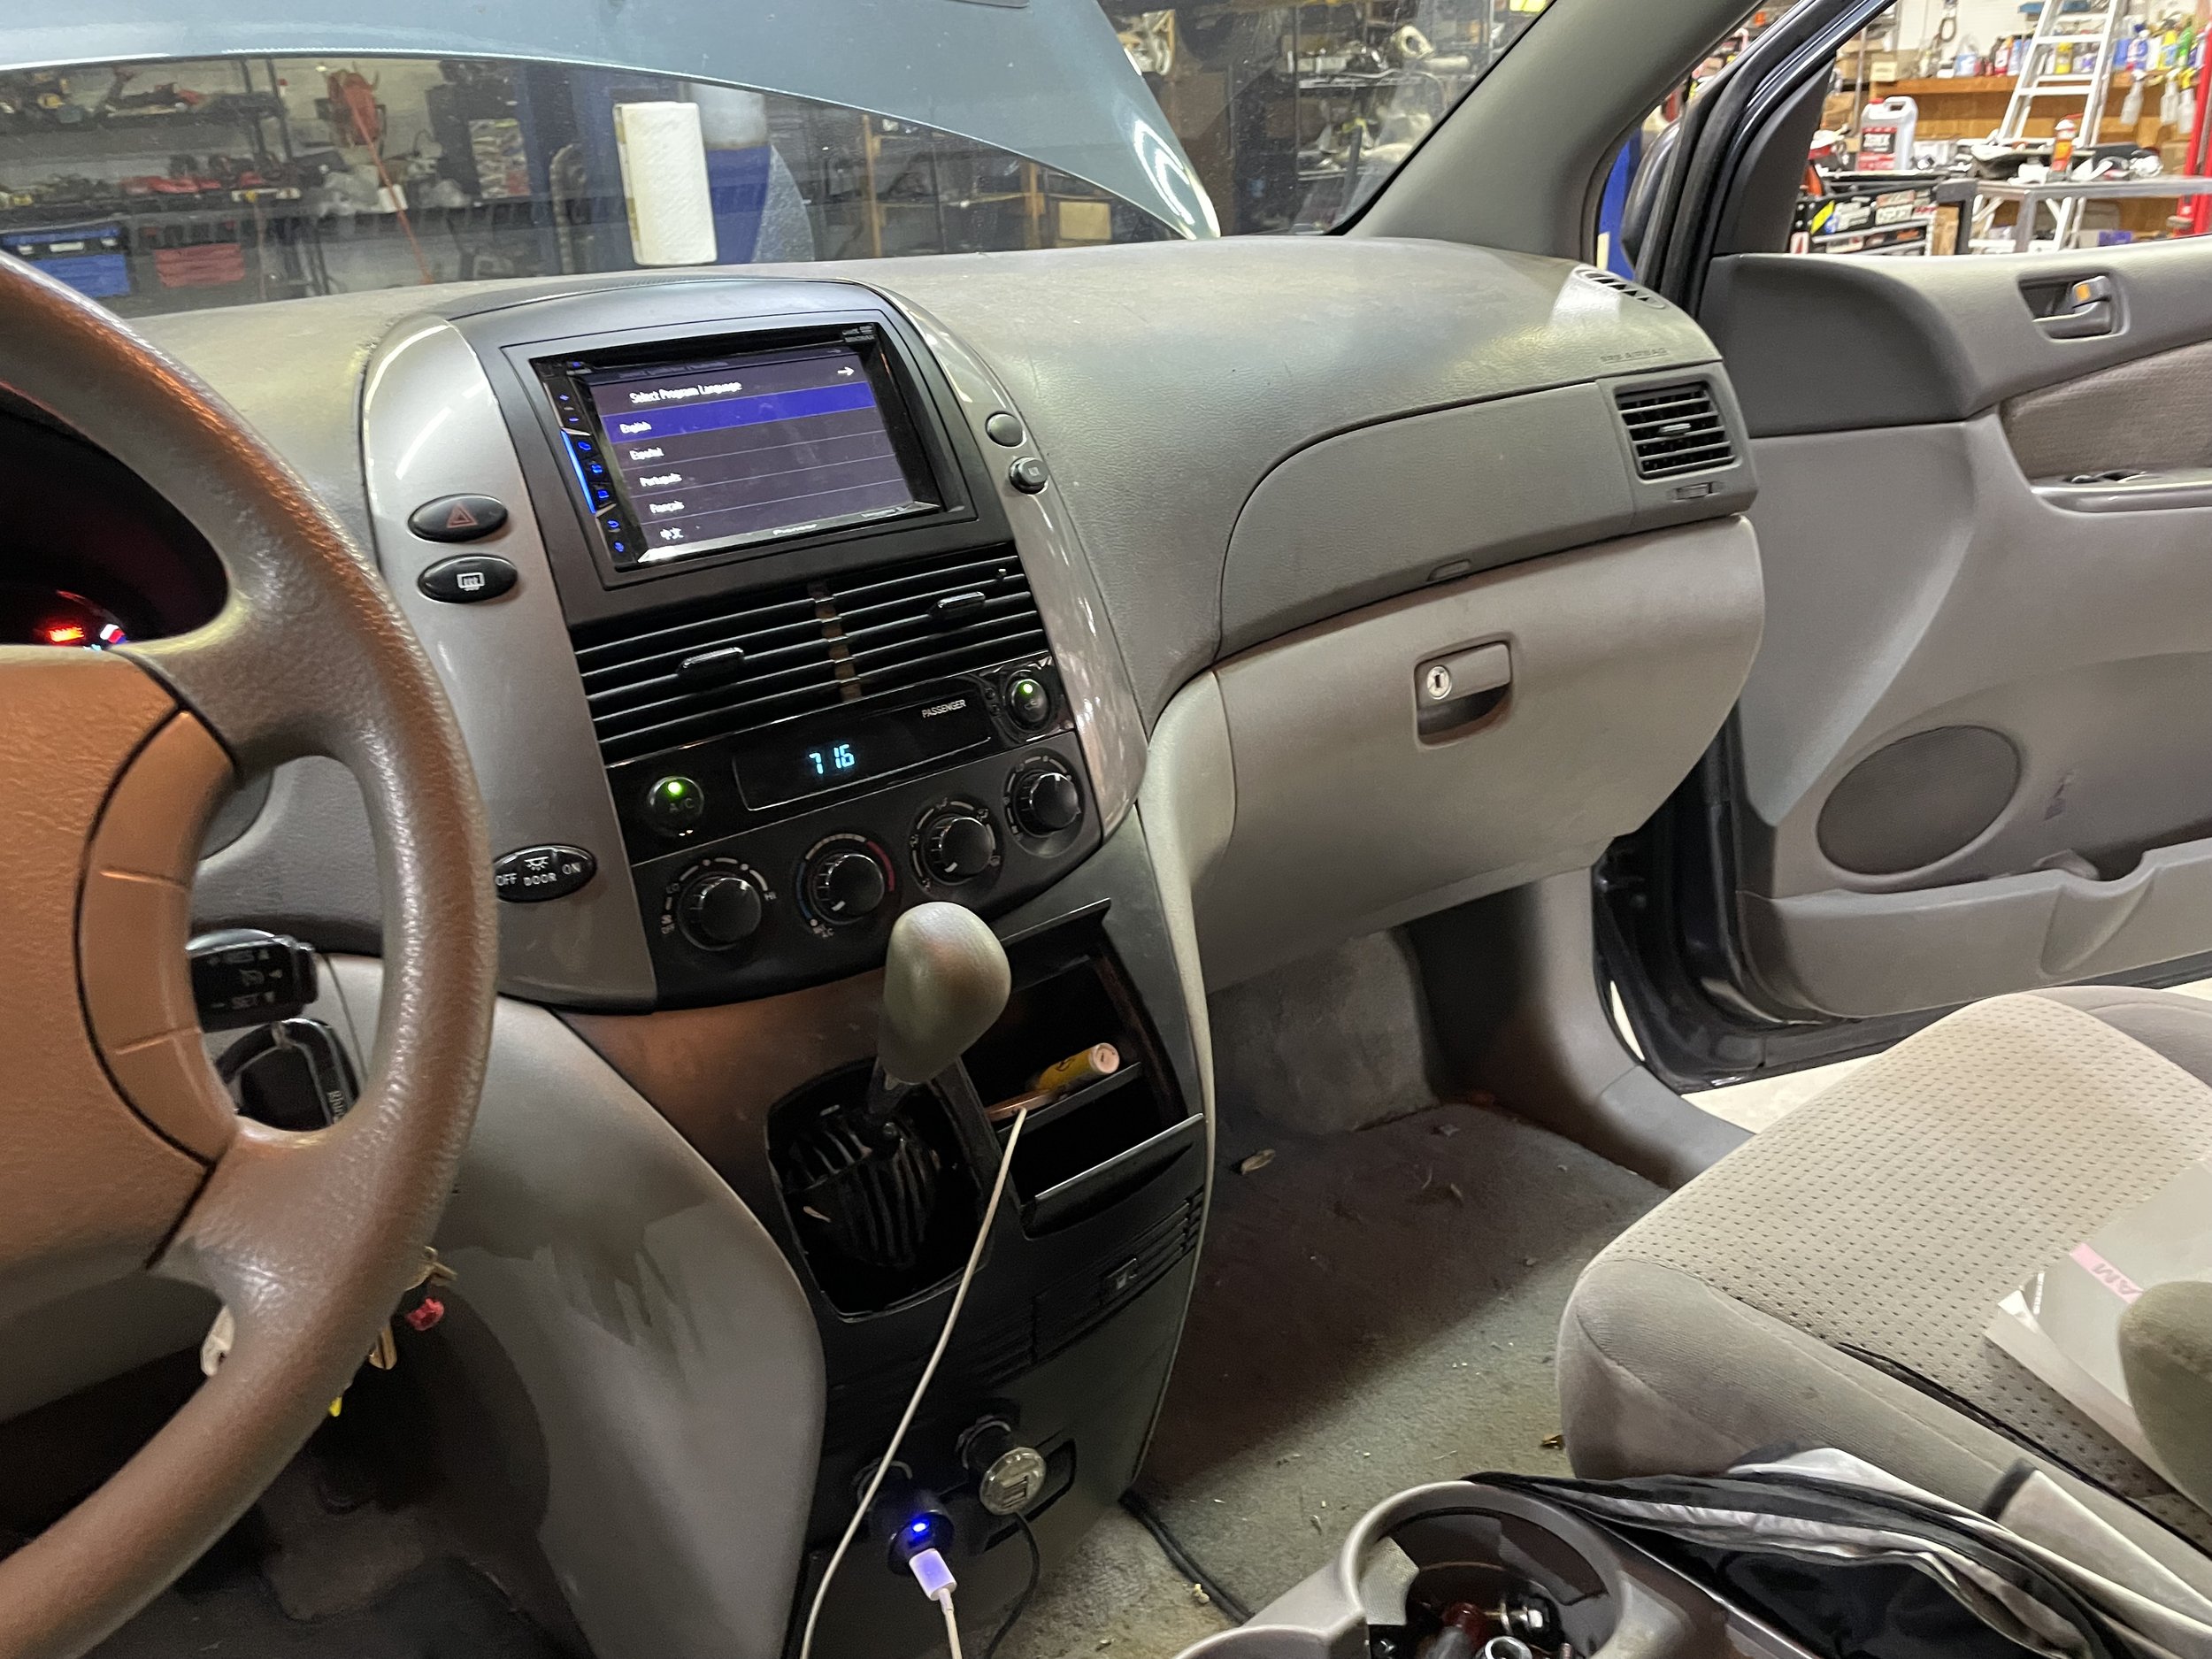
Manual Swapped 2008 Toyota Sienna
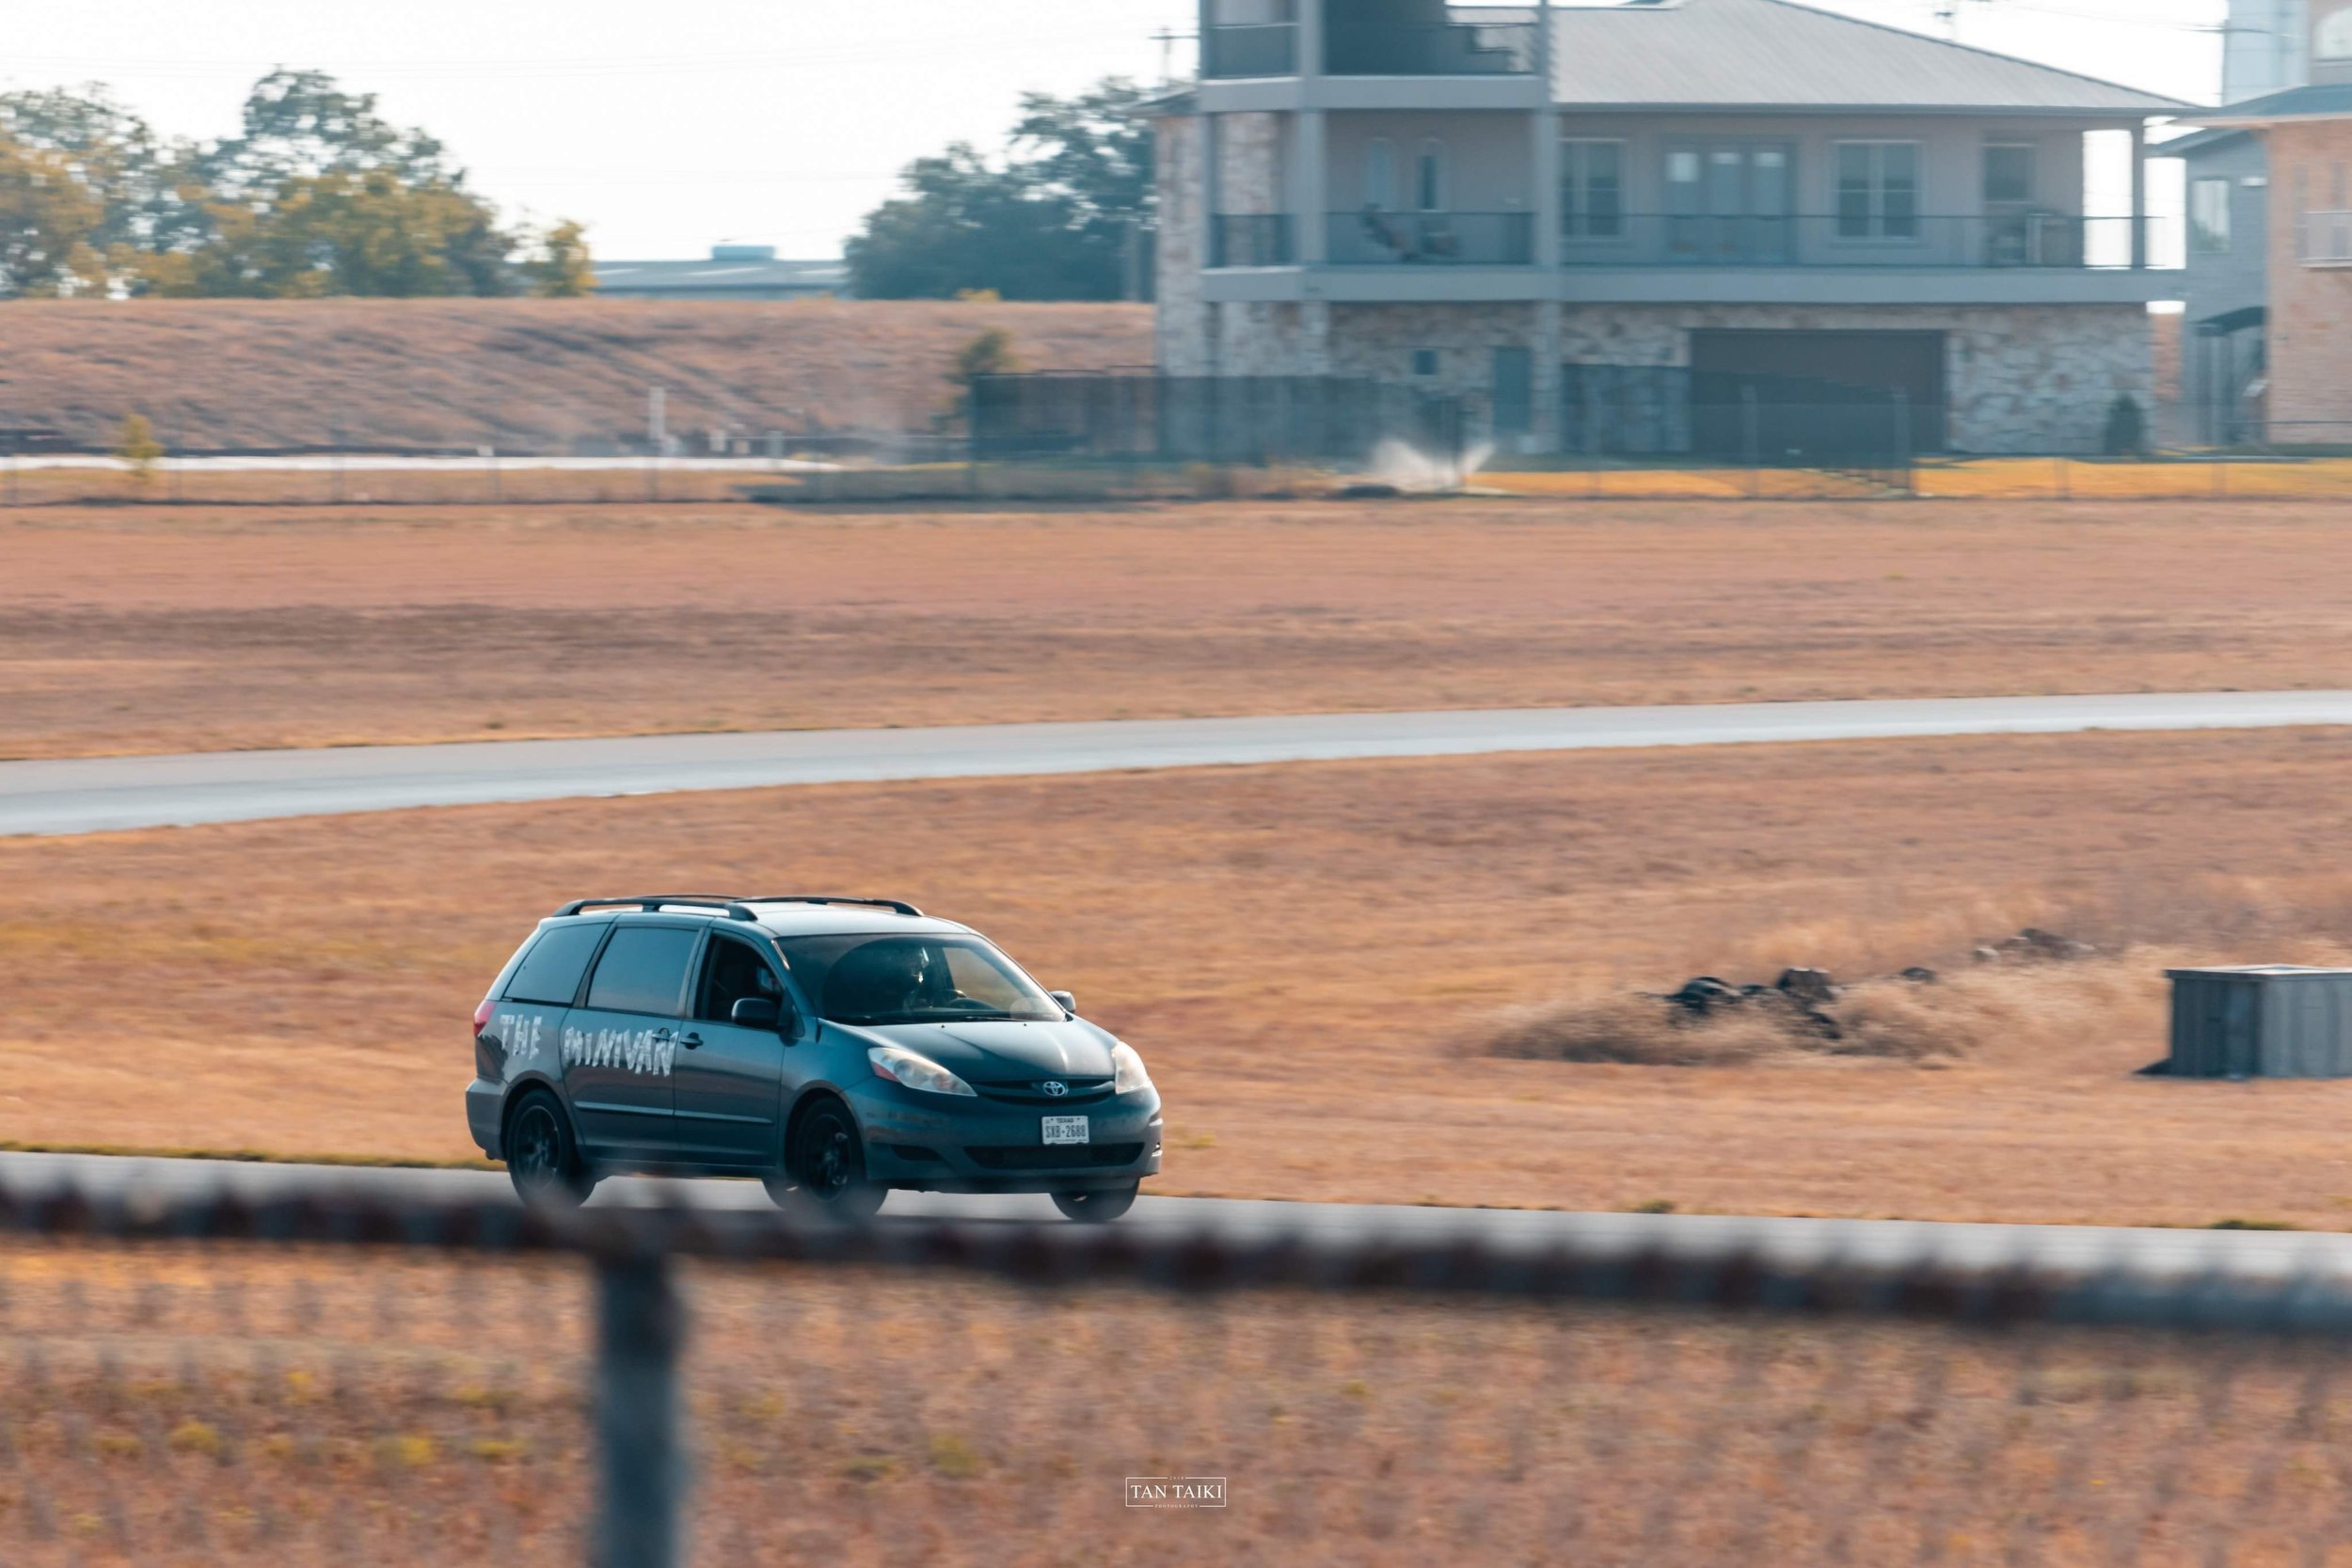
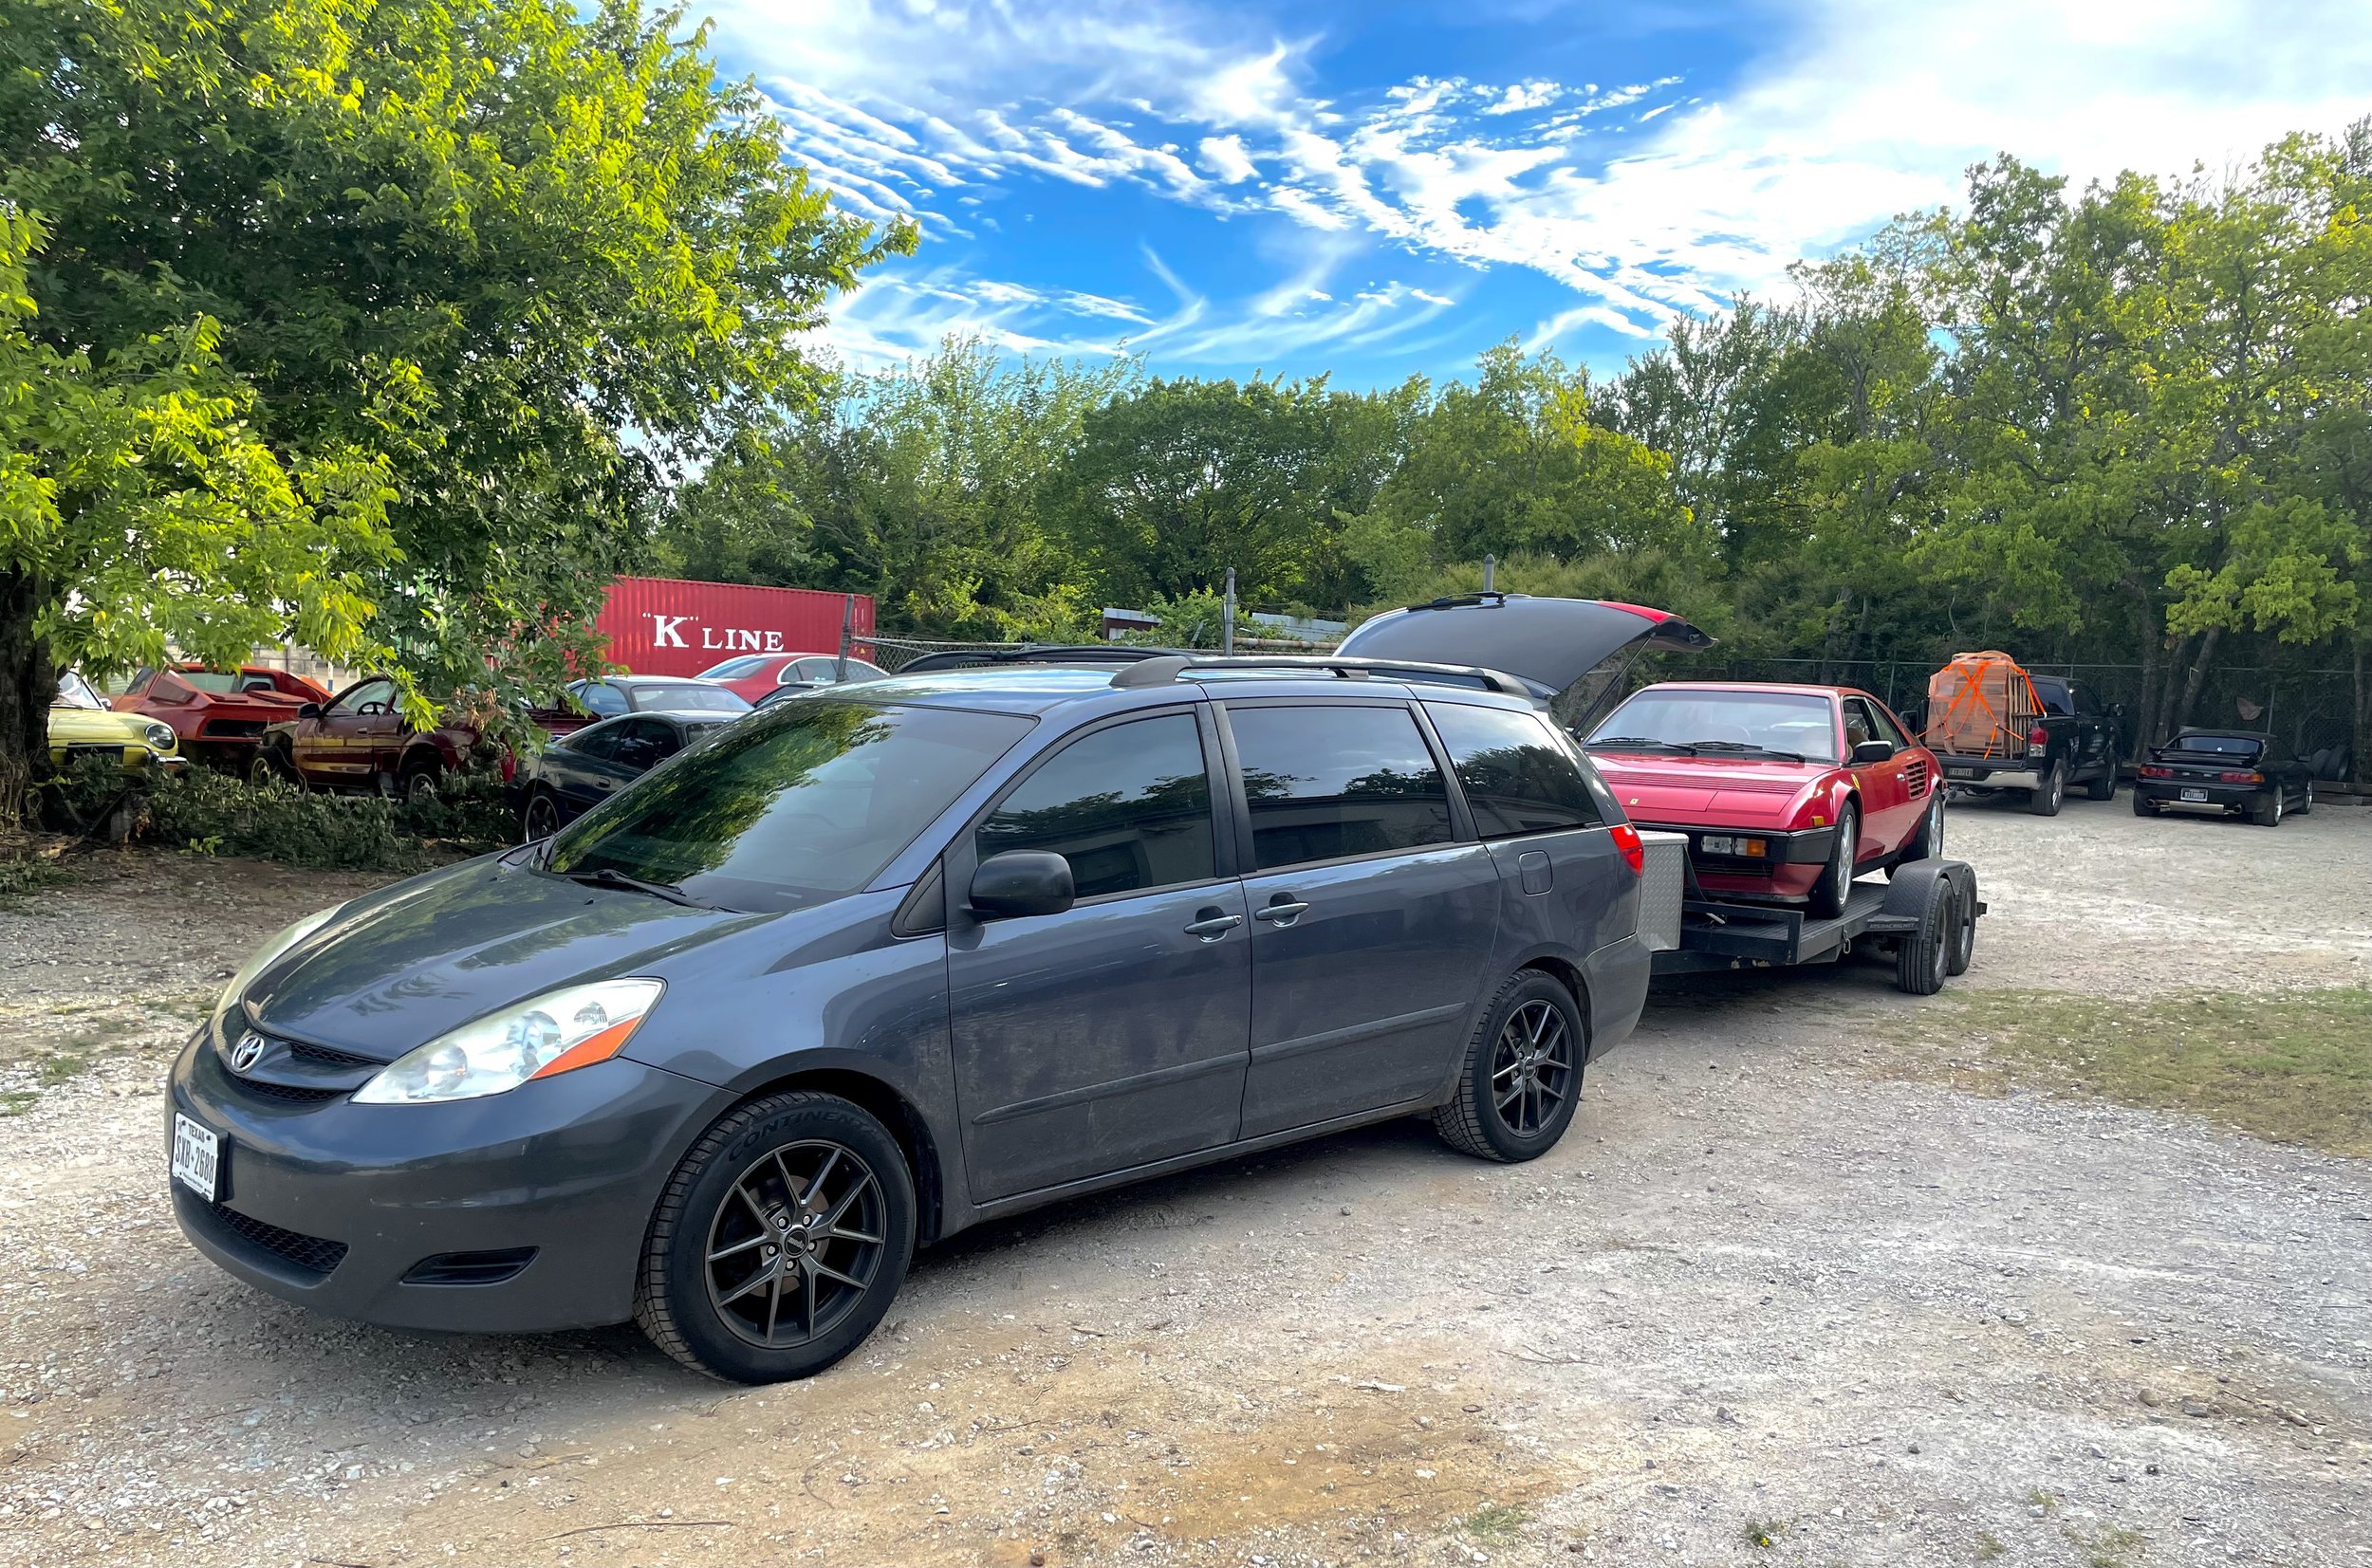
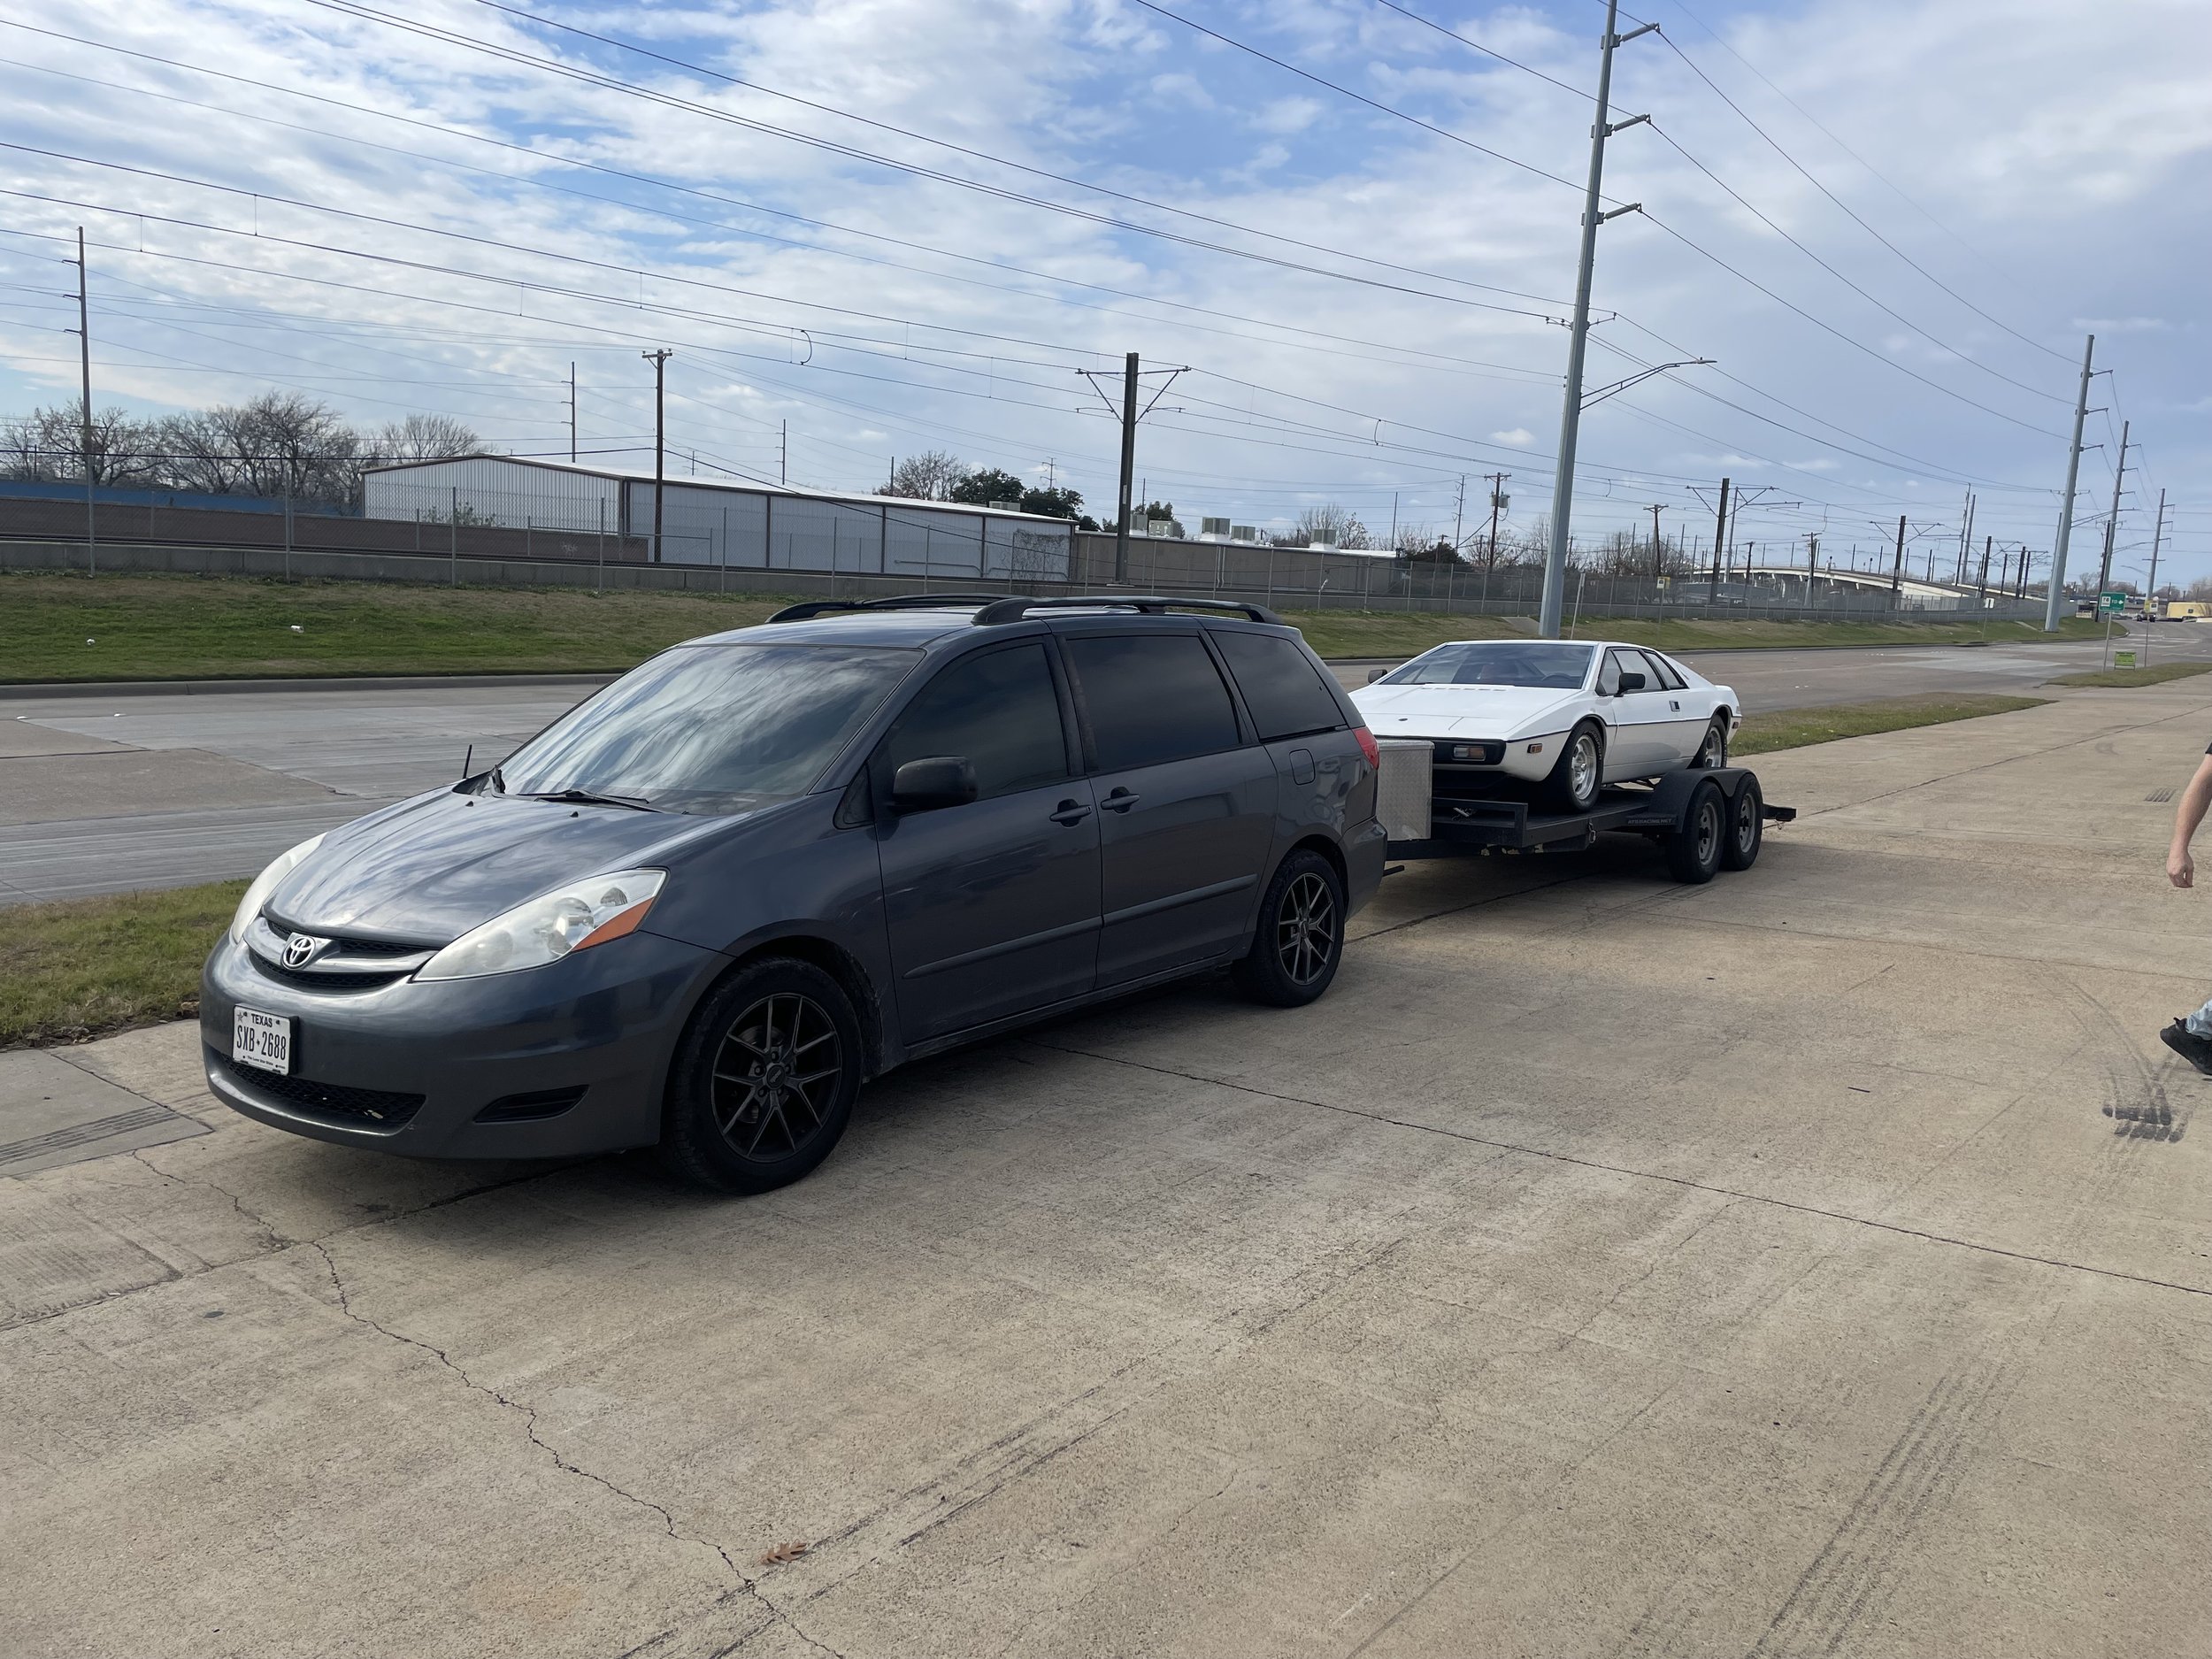
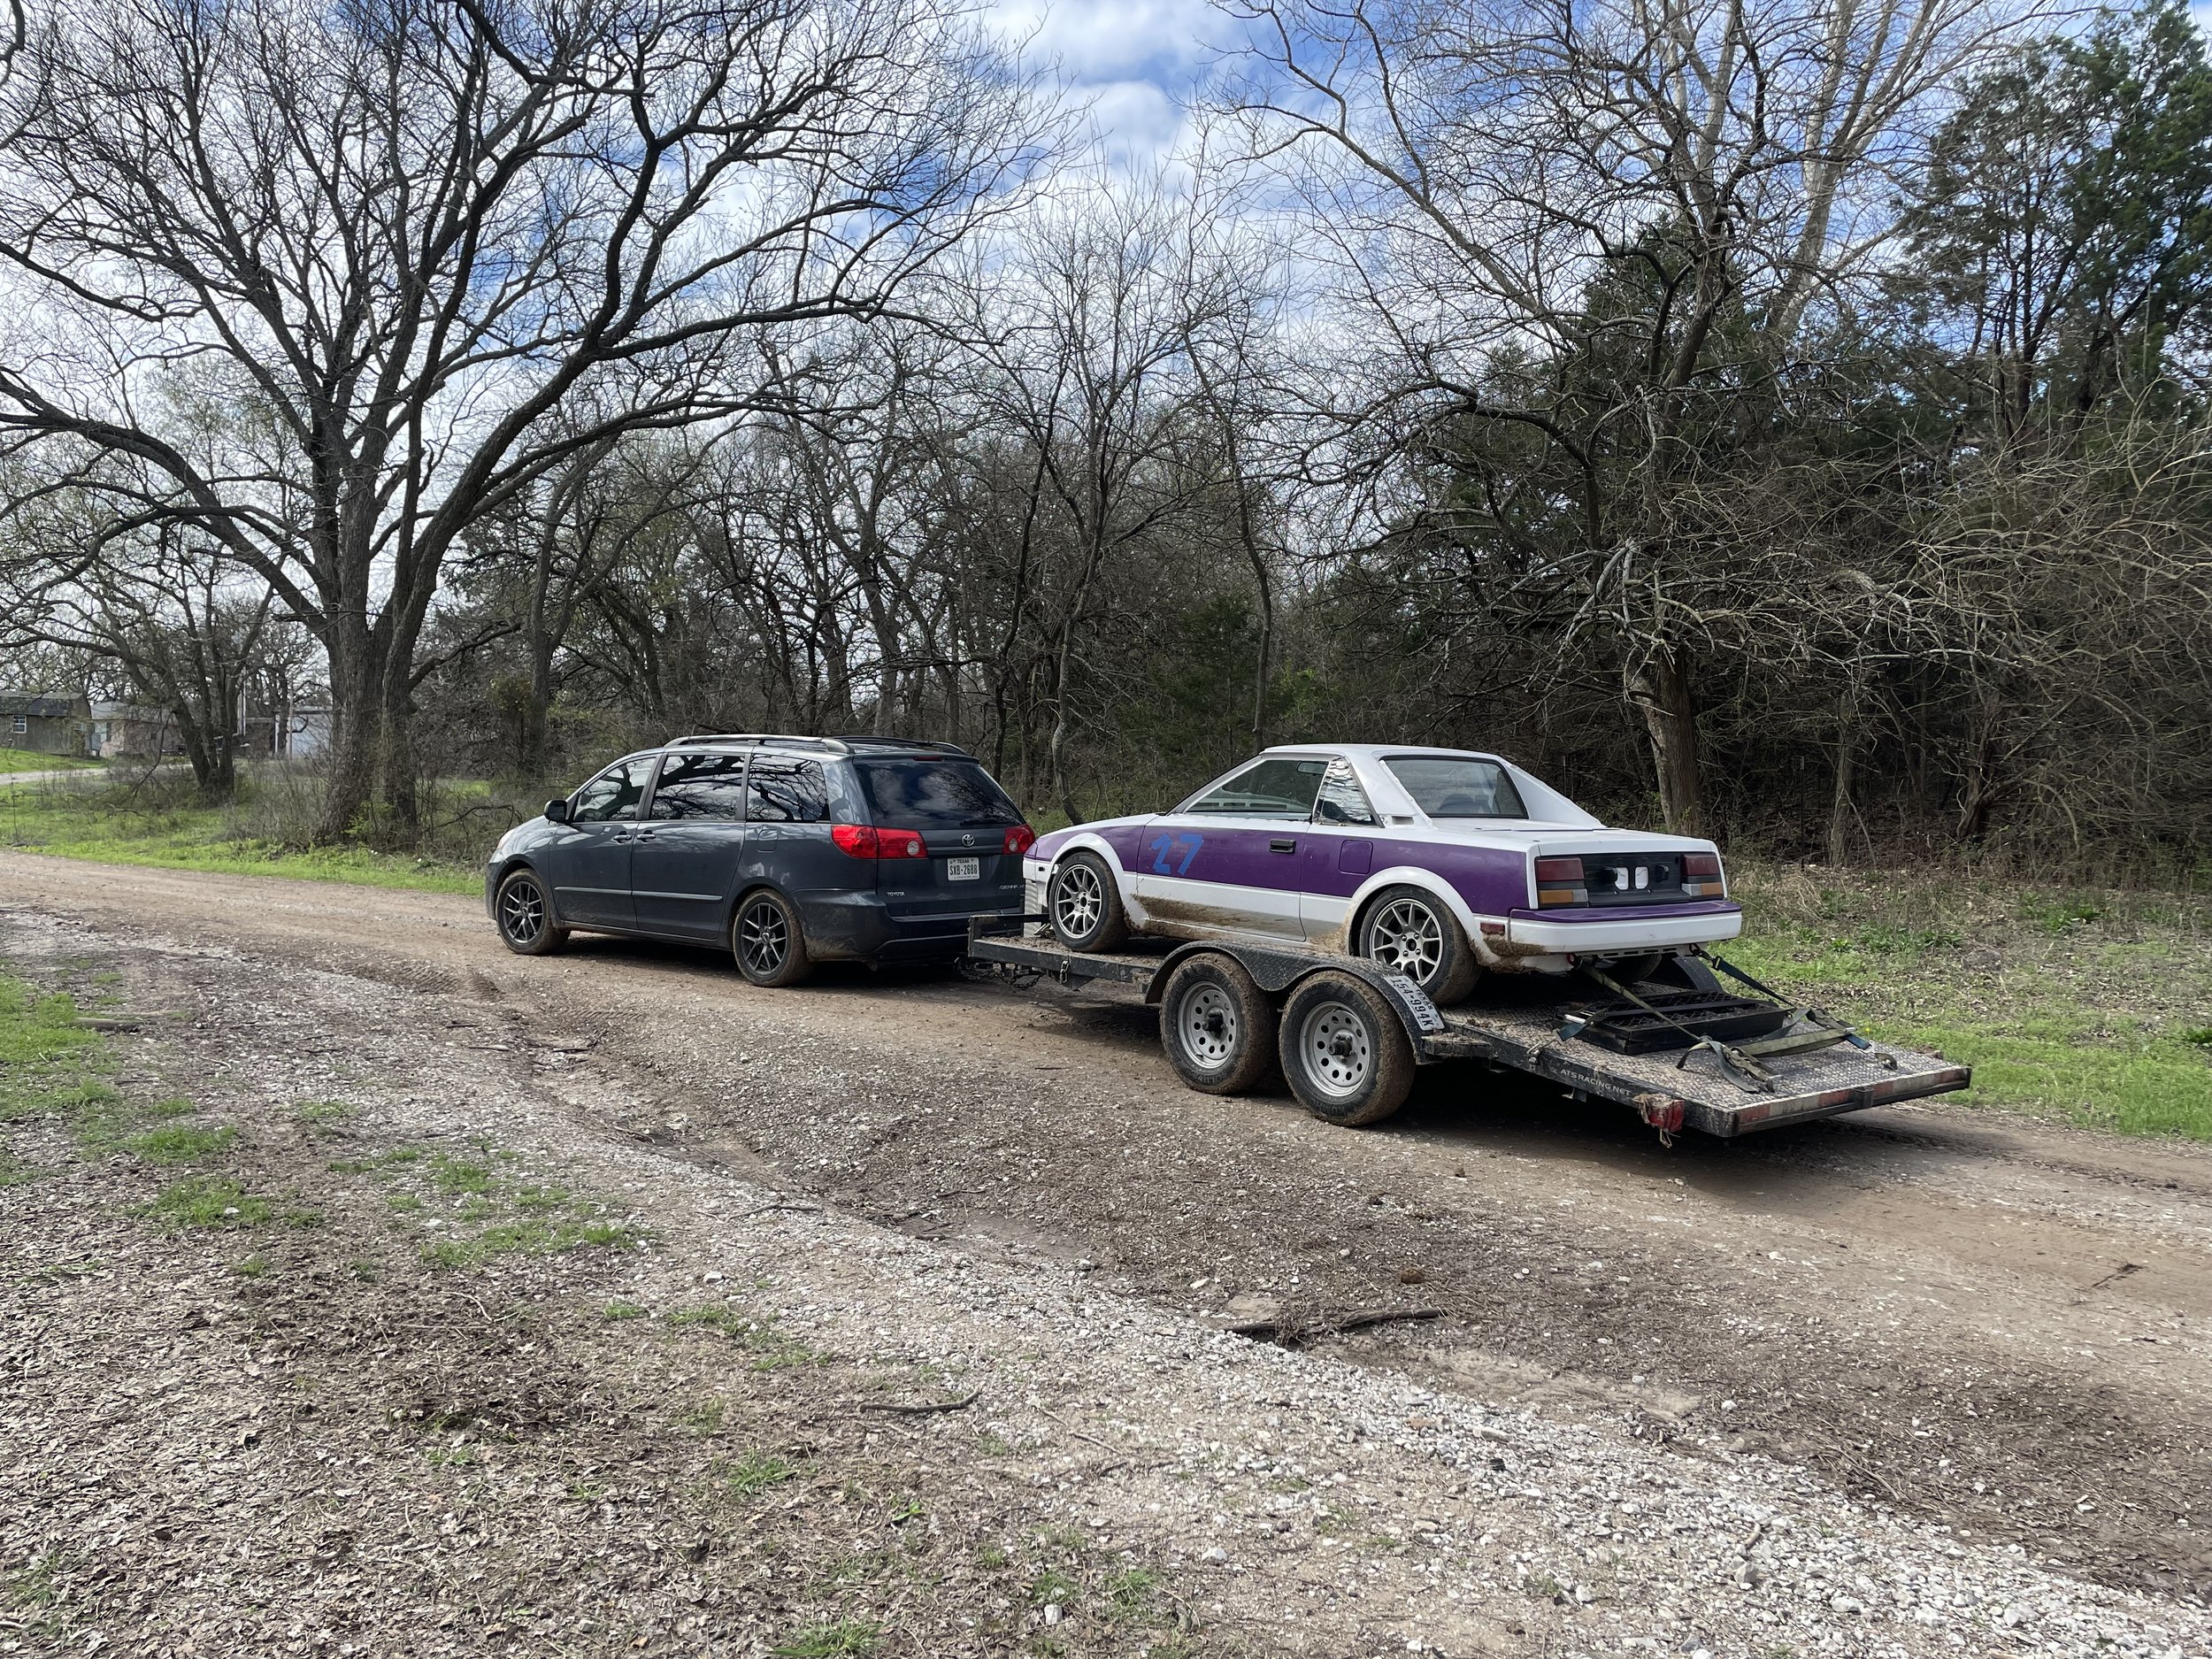
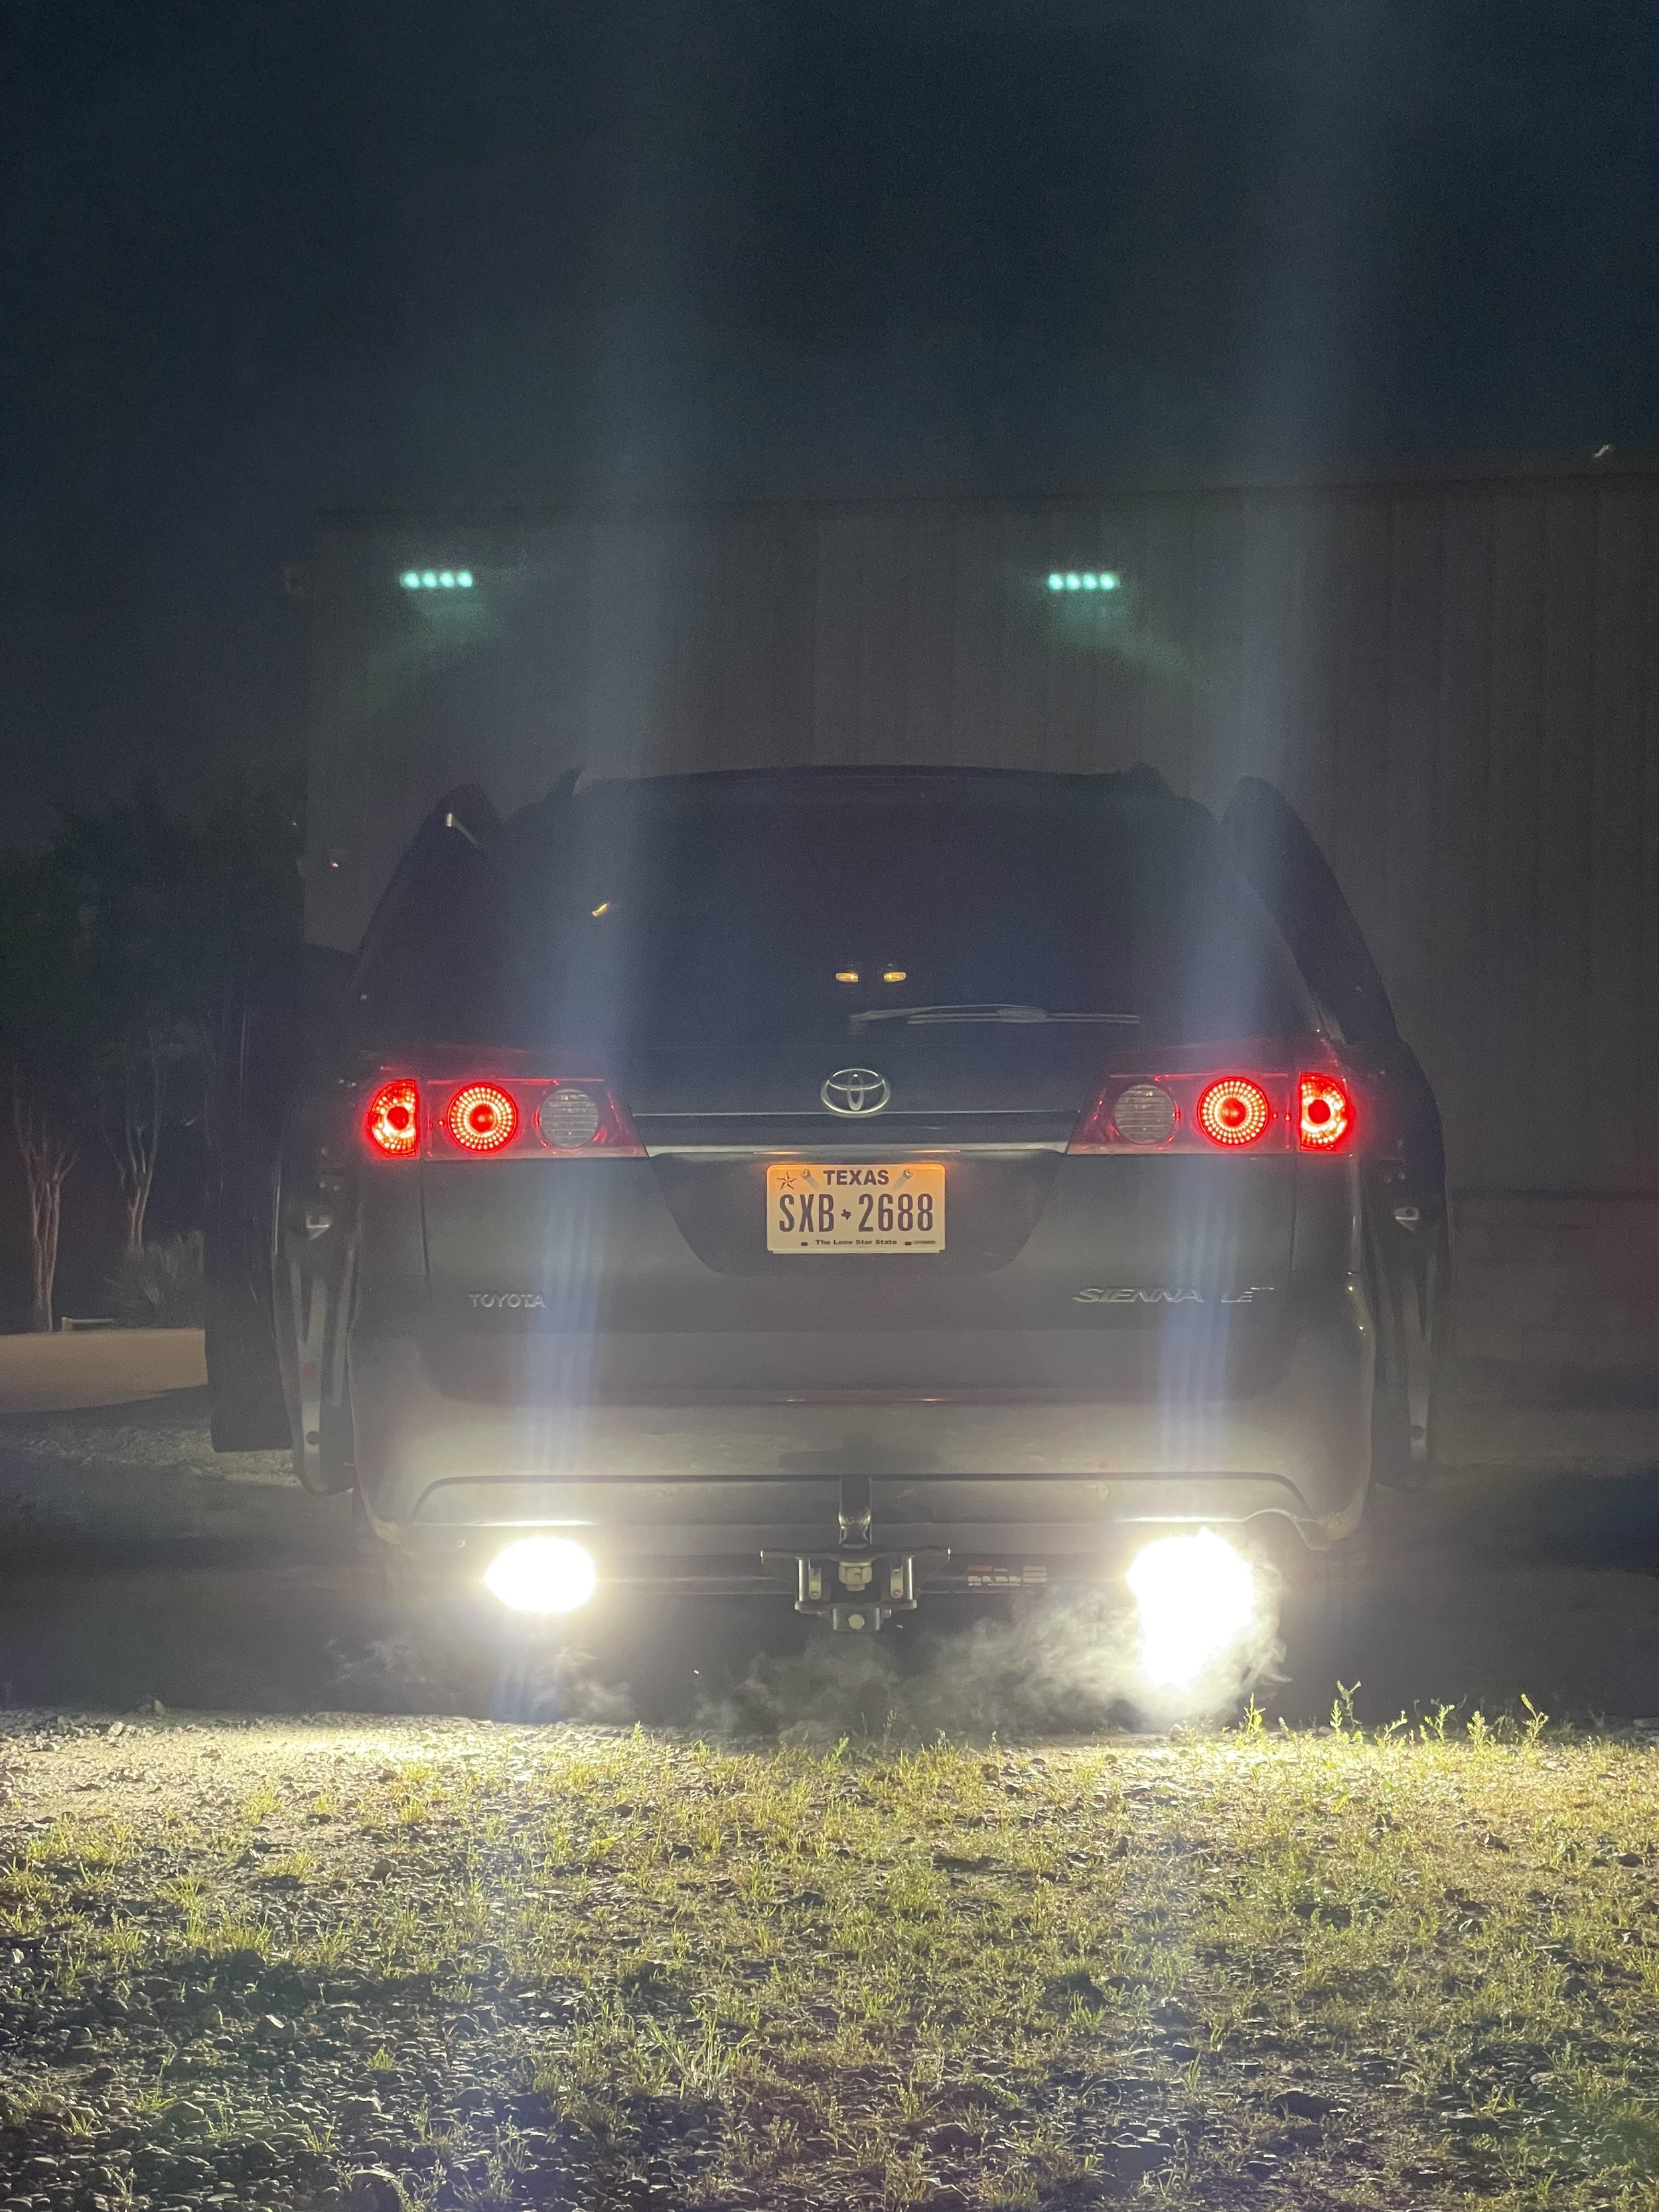
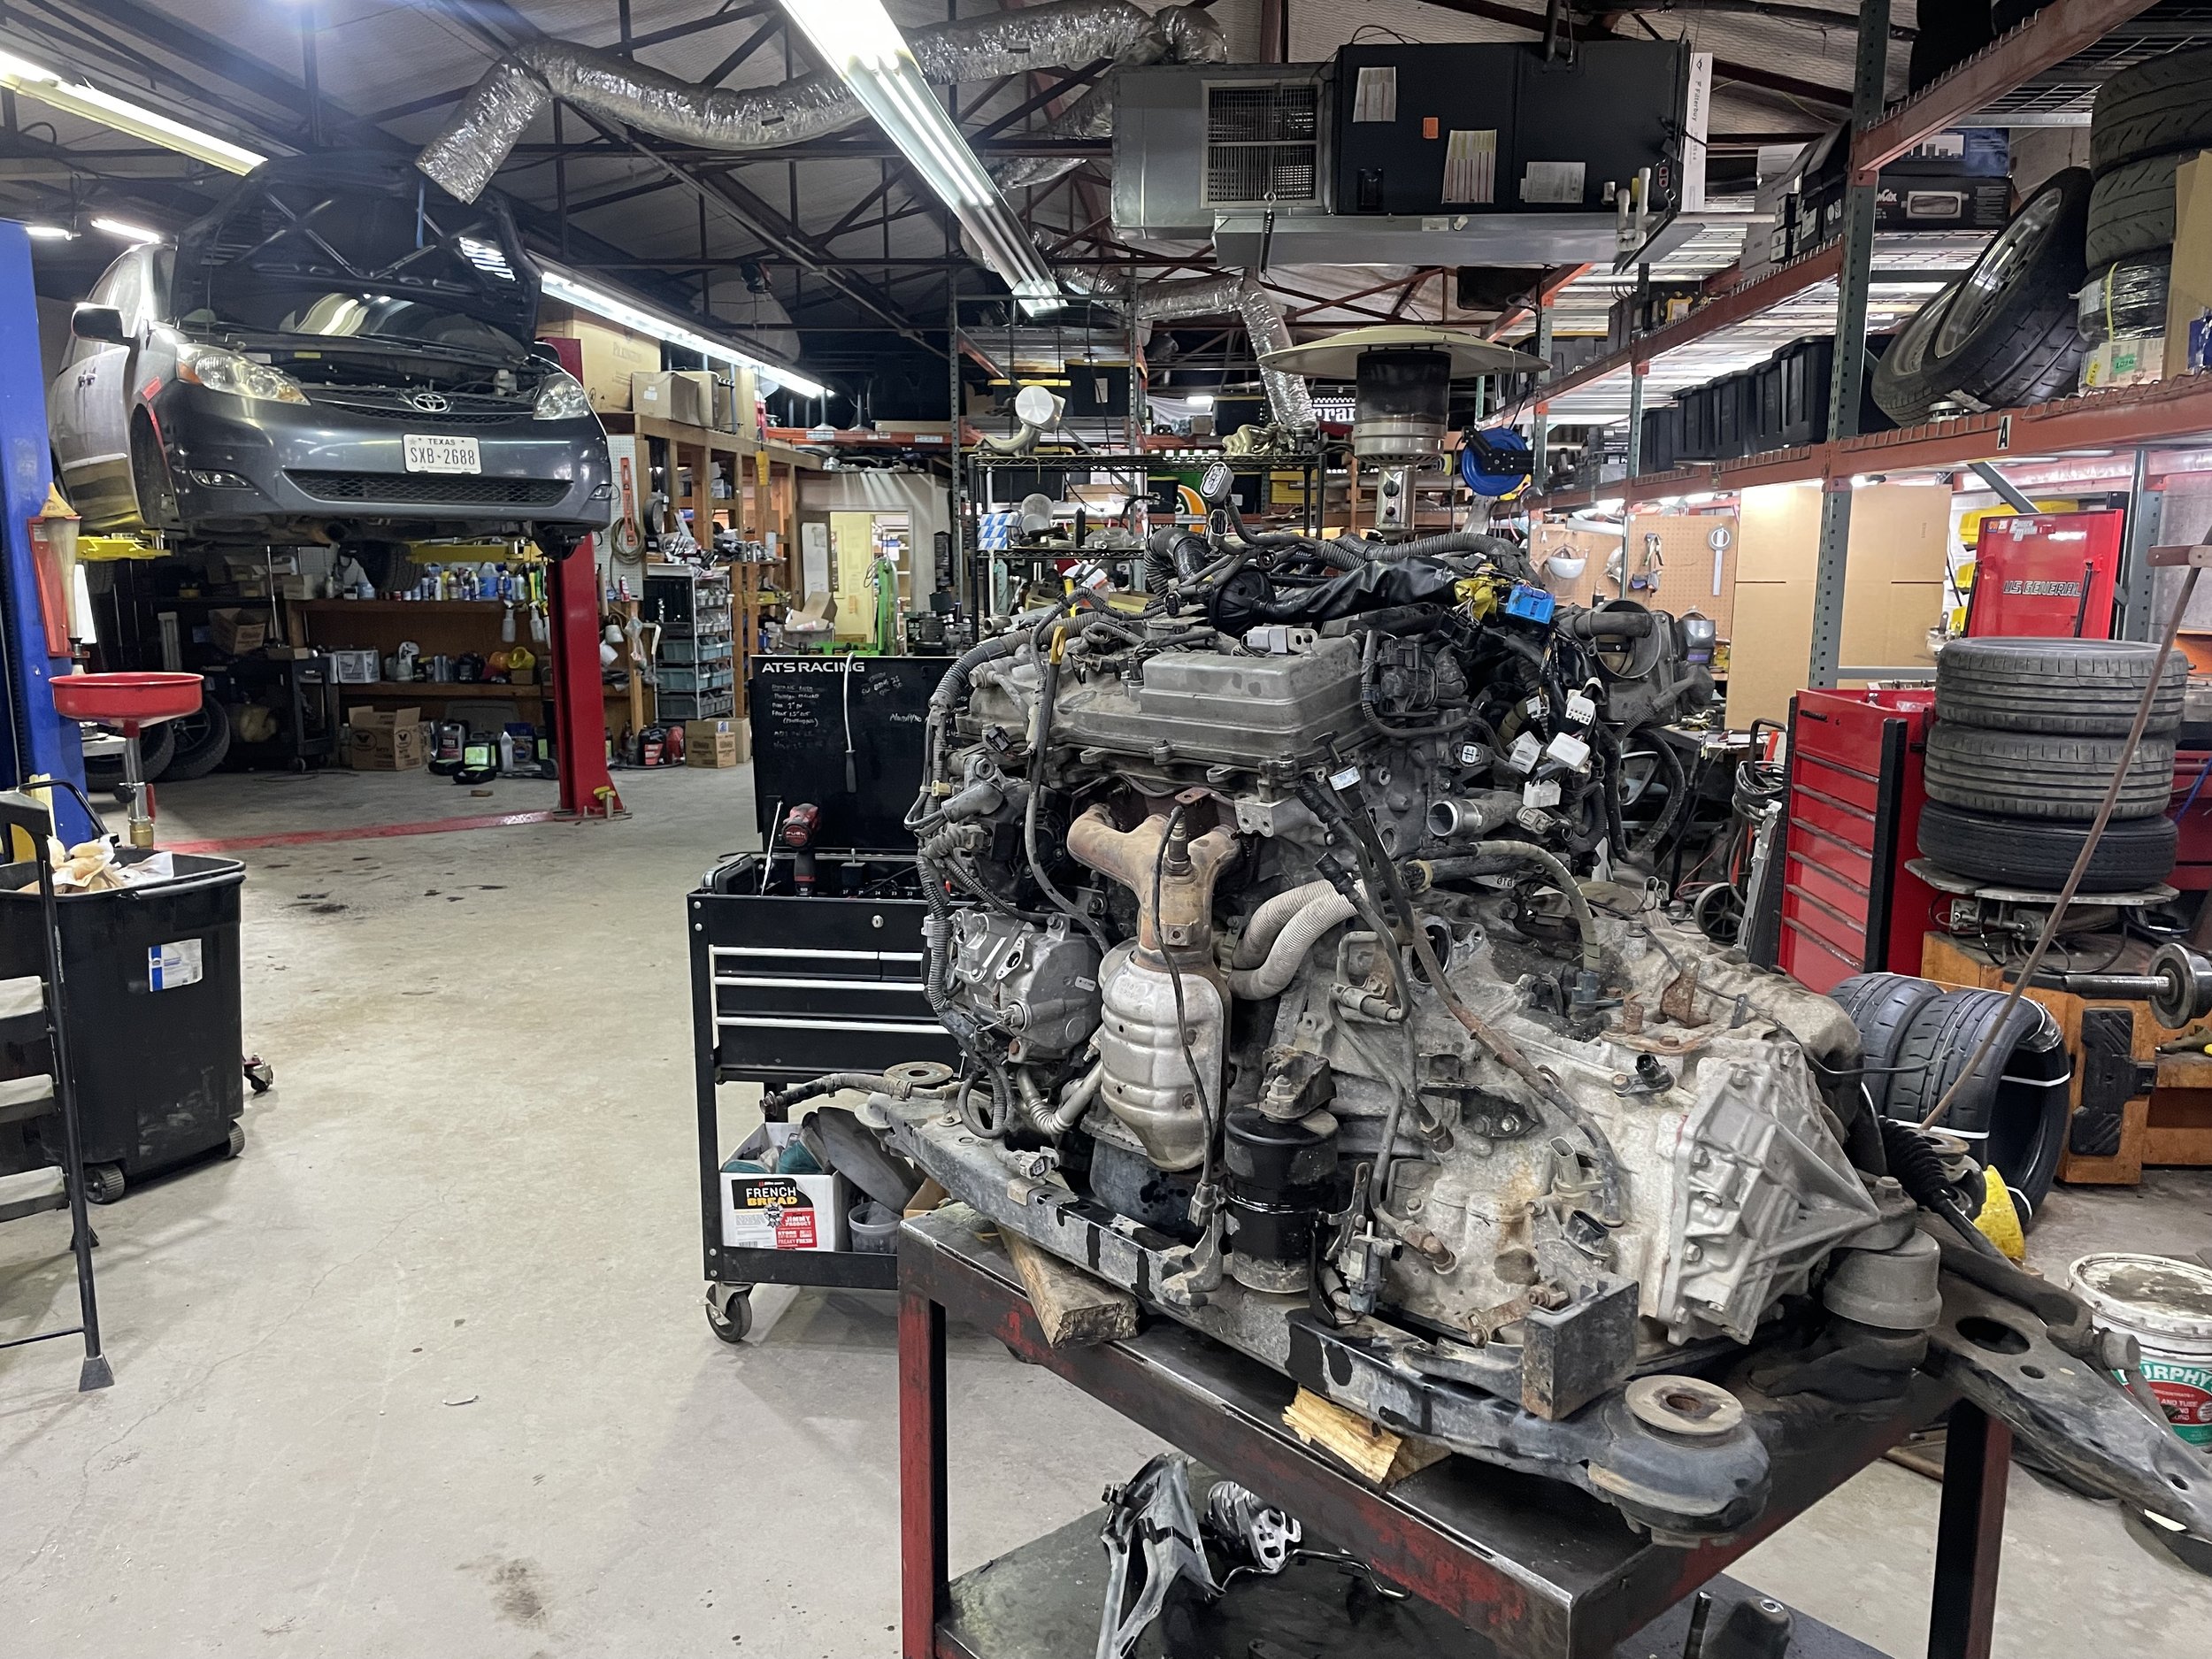
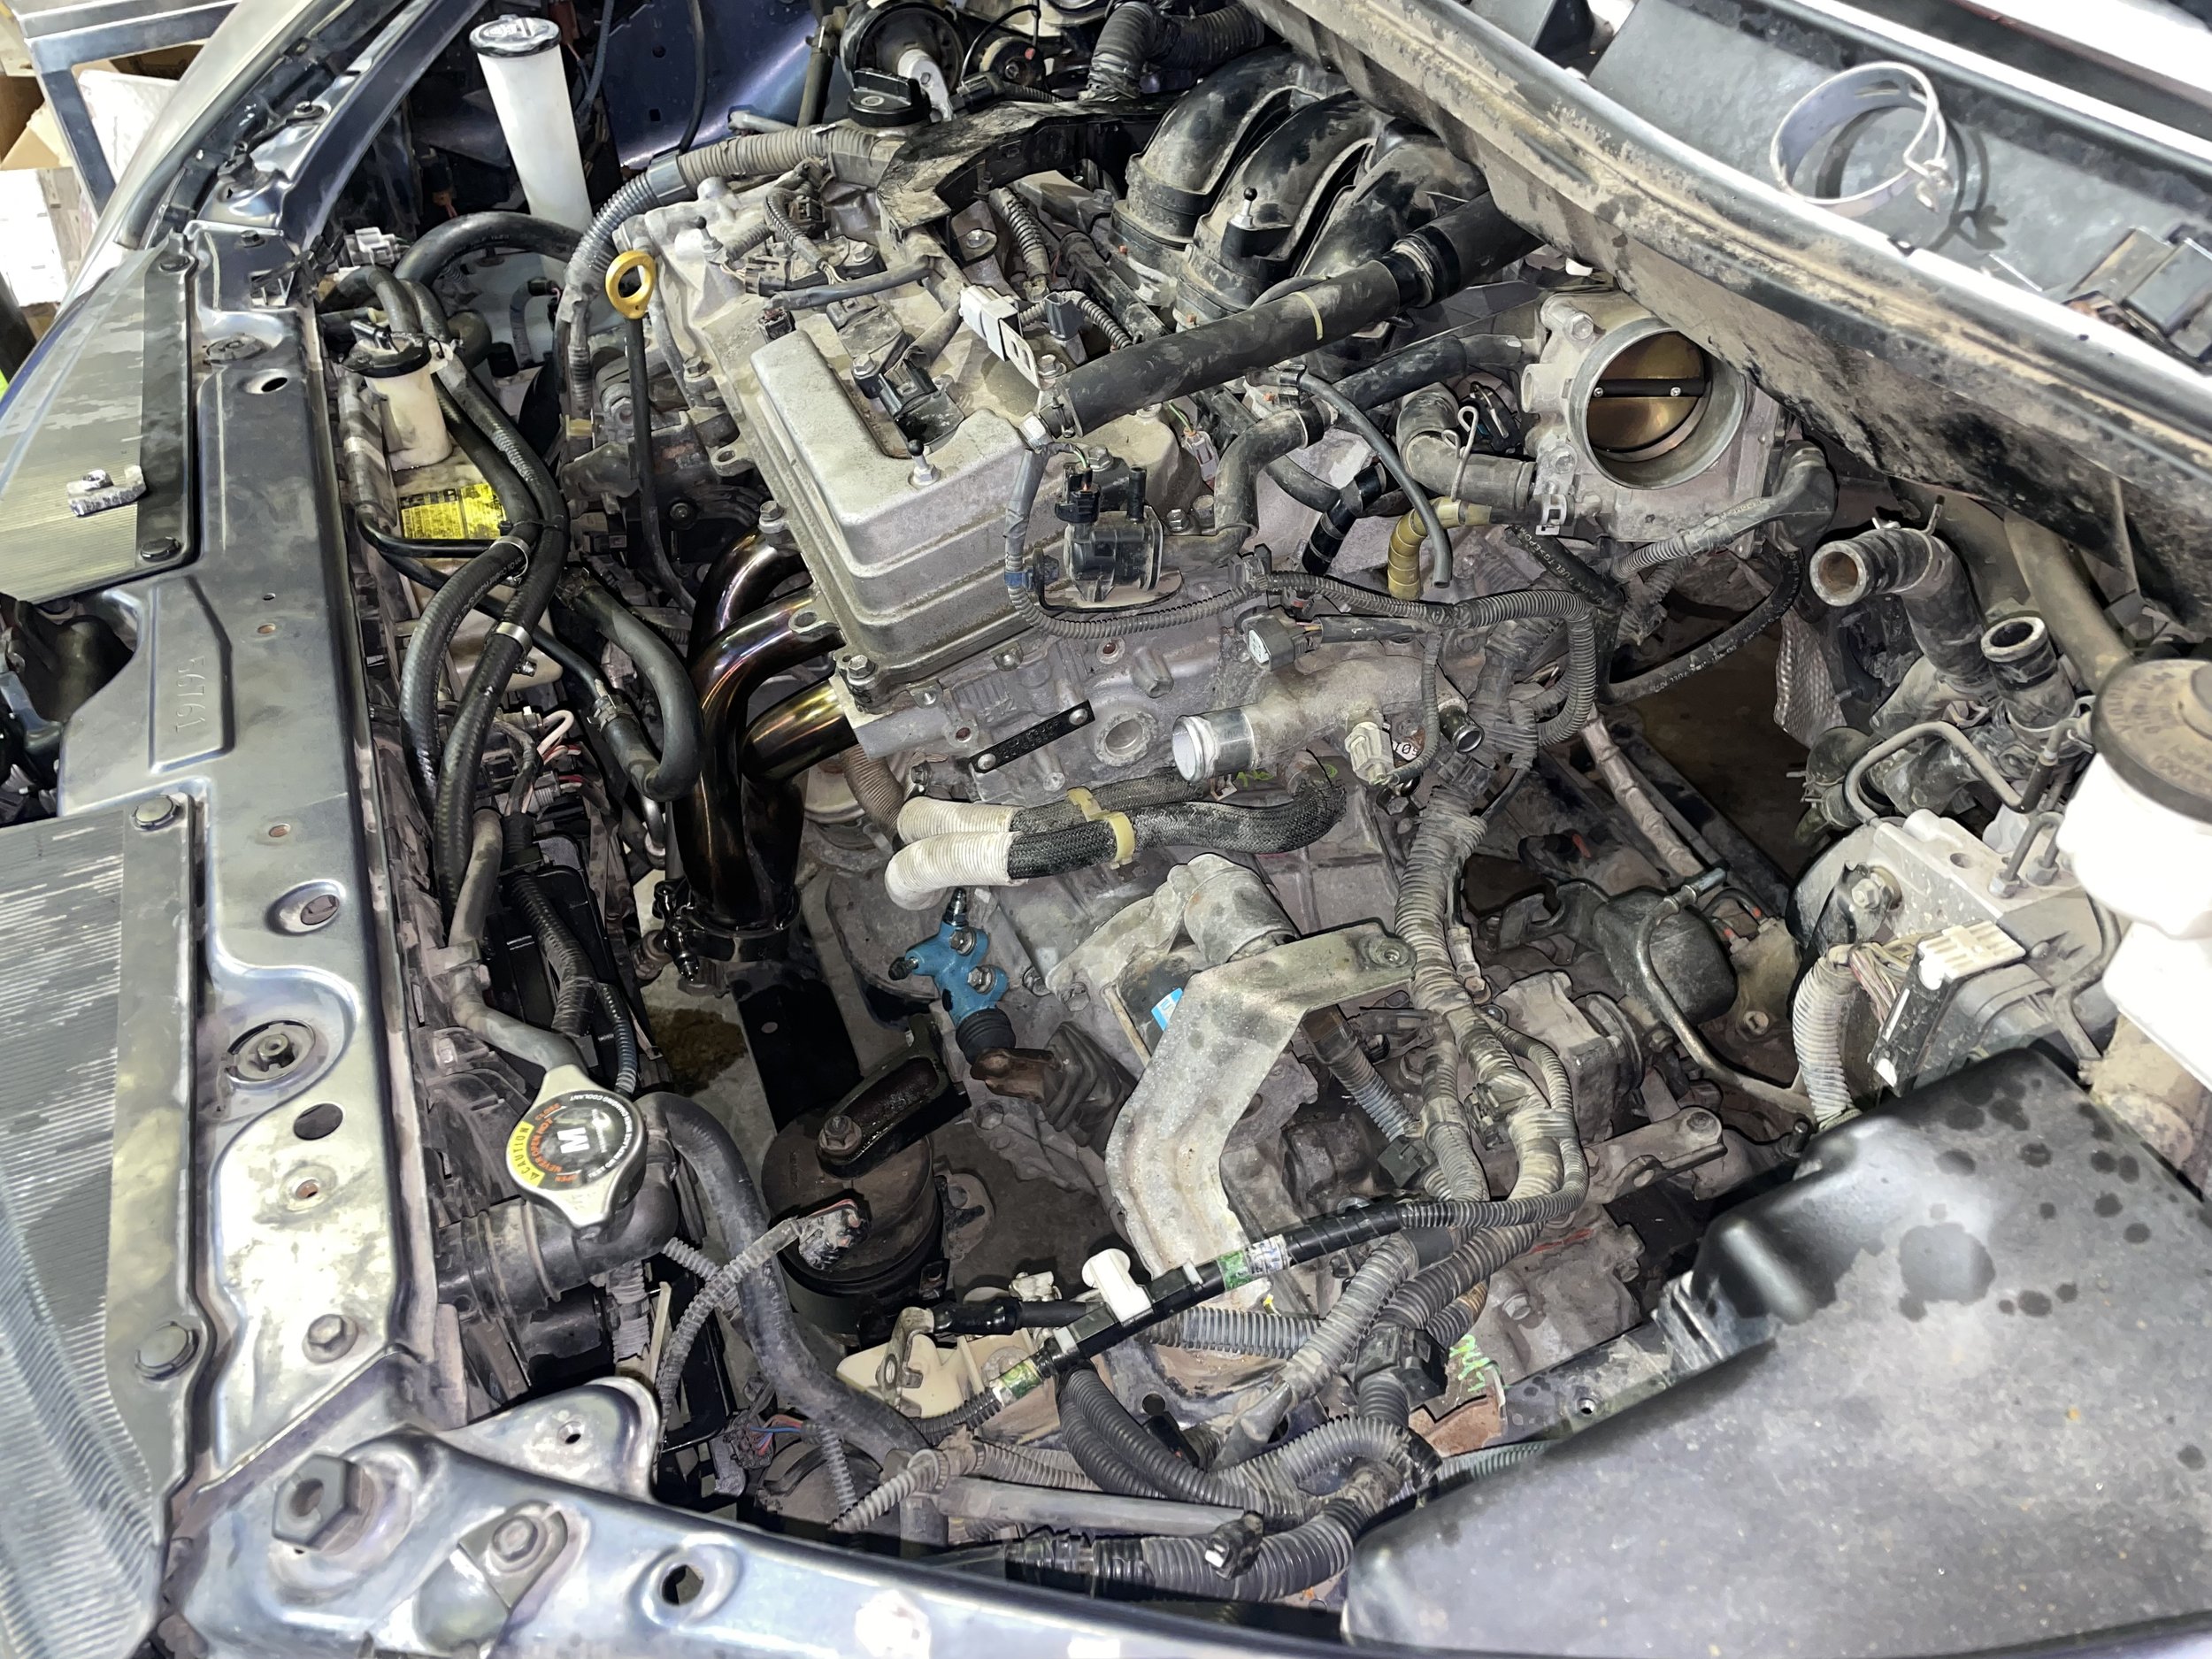
This has been my tow pig since early 2023. I bought it with a blown headgasket for $1200. It was in great shape otherwise. The early 2GRs have a few common issues, so I swapped it out with a newer, more reliable one. It tows cars like a dream. Not to mention these are overall amazingly practical vehicles to own. In May 2024 after around 10k miles of heavy towing, the automatic transmission started slipping. I’ve now done the most logical thing and manual swapped it. I wanted to document this more thoroughly, that is further down the page.
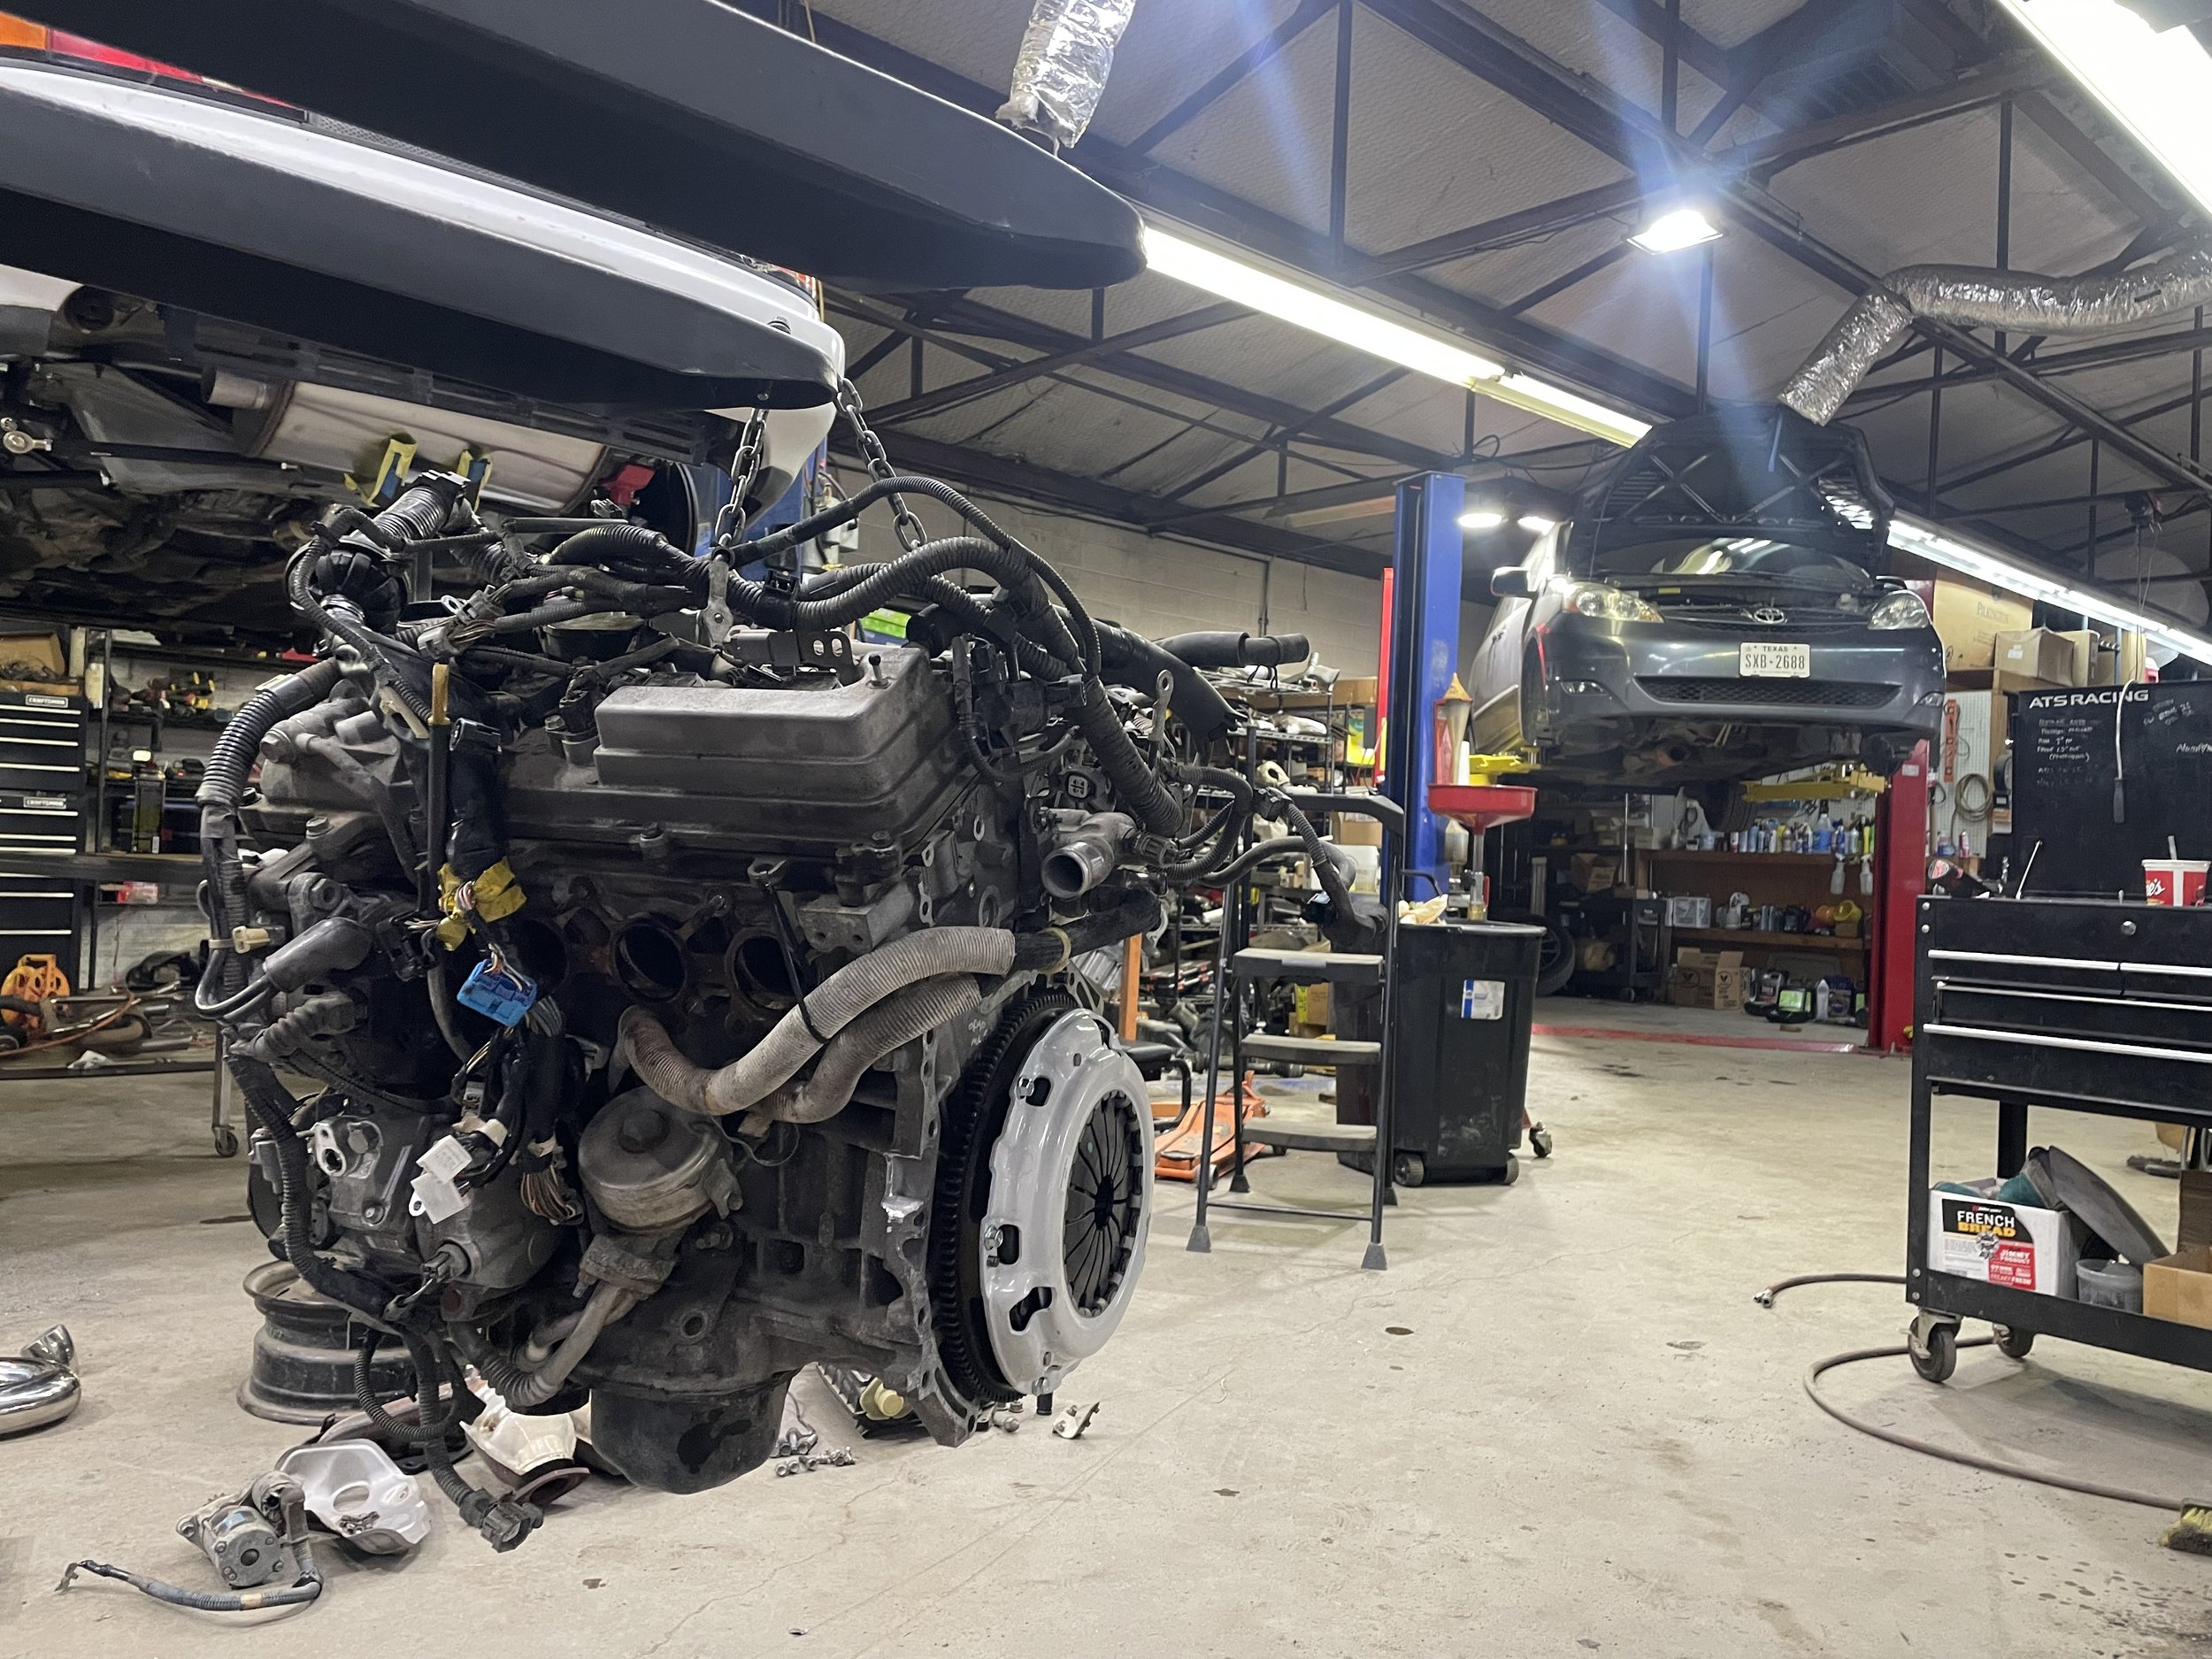
2015 Sienna engine
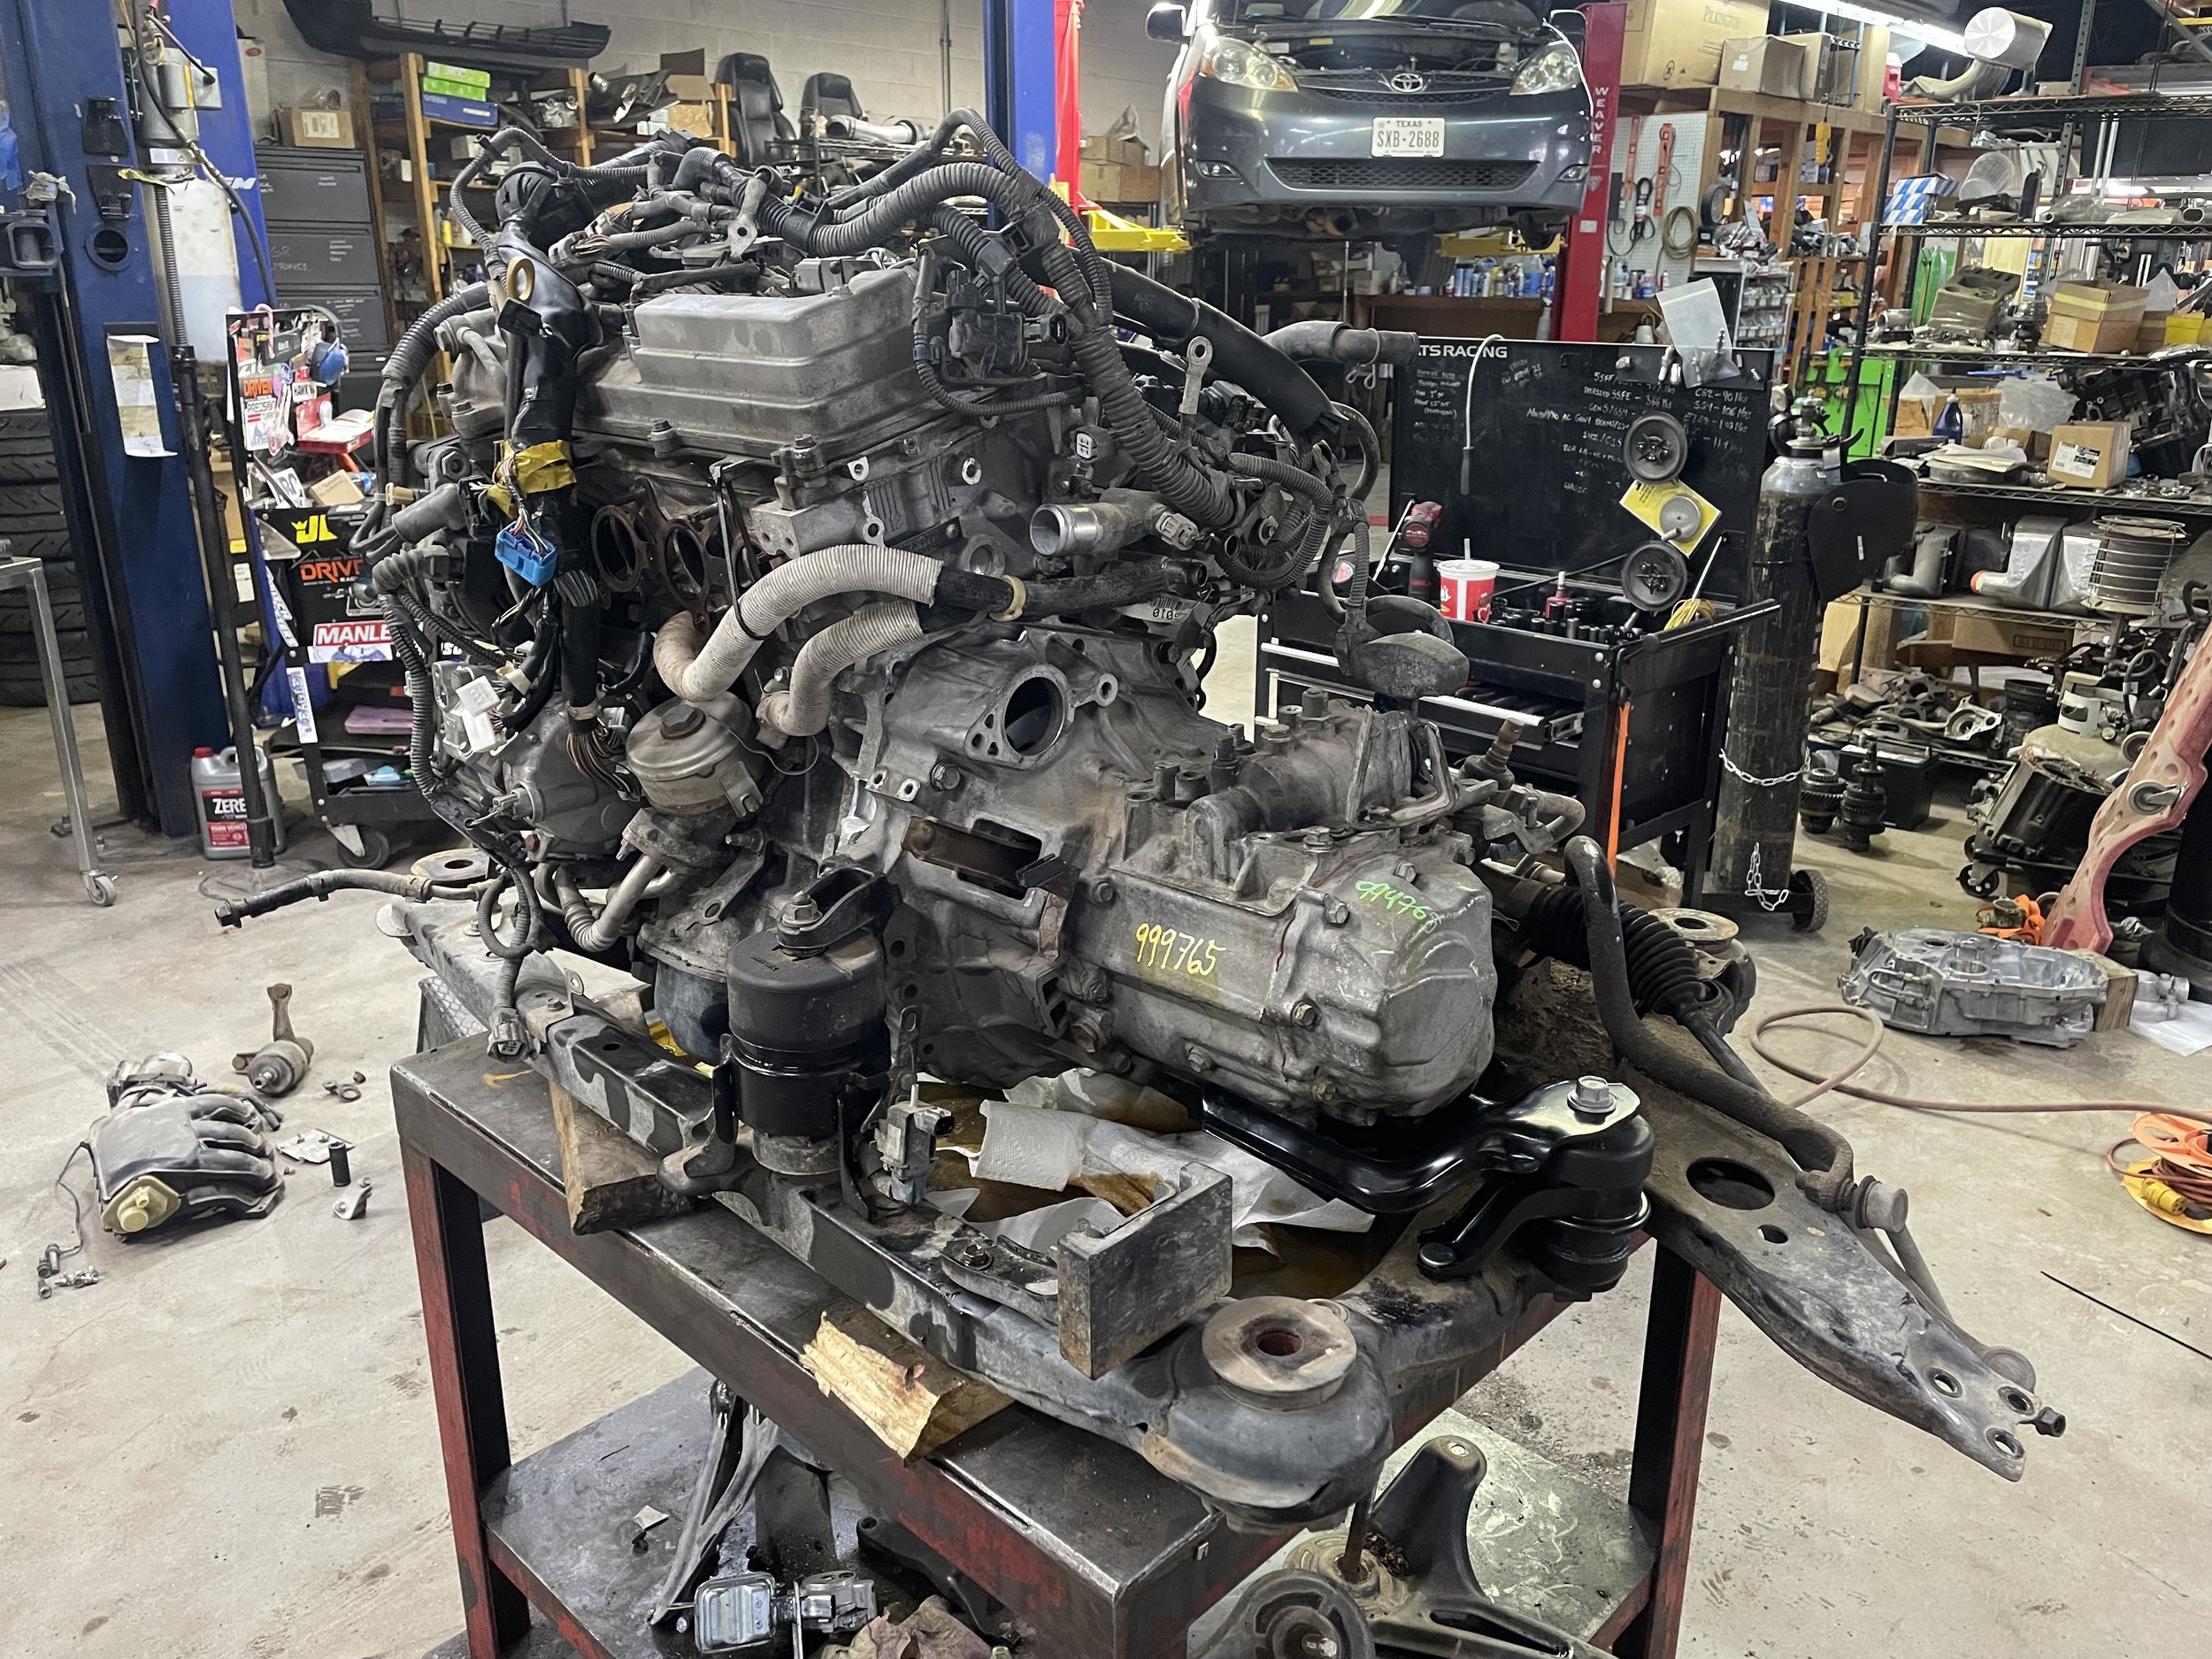
2009 Camry E351 manual transmission
Frankenstein Motorworks tubular headers
Custom equal length y-pipe & full 3” exhaust
Megan Racing Gen3 Sienna rear sway bar
Rear helper air bags
Modified Bilstein 24-239455 rear shocks
Tesla Model 3 18x8.5 wheels
235/55 Continental DWS06 Plus tires
Verus Engineering ND Miata hood louvers
3rd gen Sienna front brakes
Manual Swap Details
Mating the Transmission
I used an E351 transmission from a 2009 Camry. This is the newest version of the E series Toyota transmission with an internally gated shift shaft. You could also use an earlier E351 or E350 from a Scion tC. It bolts to the 2GR with minimal modification. You have to cut off or grind one part of the bellhousing where it will hit the forward cylinder head. You also have to cut and grind the 2GR block to clear a clutch slave cylinder. These modifications took all of 10 minutes. I used a modified MR2 Turbo flywheel and a Clutchmasters stage 1 clutch. This combination is available from ATS Racing here. You could also use a 99 Camry V6 flywheel, but originals are hard to find and the reproductions have dimensional issues.
Once the transmission was installed on the engine, I was pleasantly surprised to find out that Camry mounts work perfectly on the Sienna. I purchased 12306-0H010 for the driver side transmission mount. This includes the insulator and the bracket, it all works perfectly on this combo. My transmission already had a Camry front mount bracket. This bolted to the original Sienna insulator perfectly. The Sienna starter was reused. At this point I could reinstall the drivetrain into the car and move forward with more details.
Axles
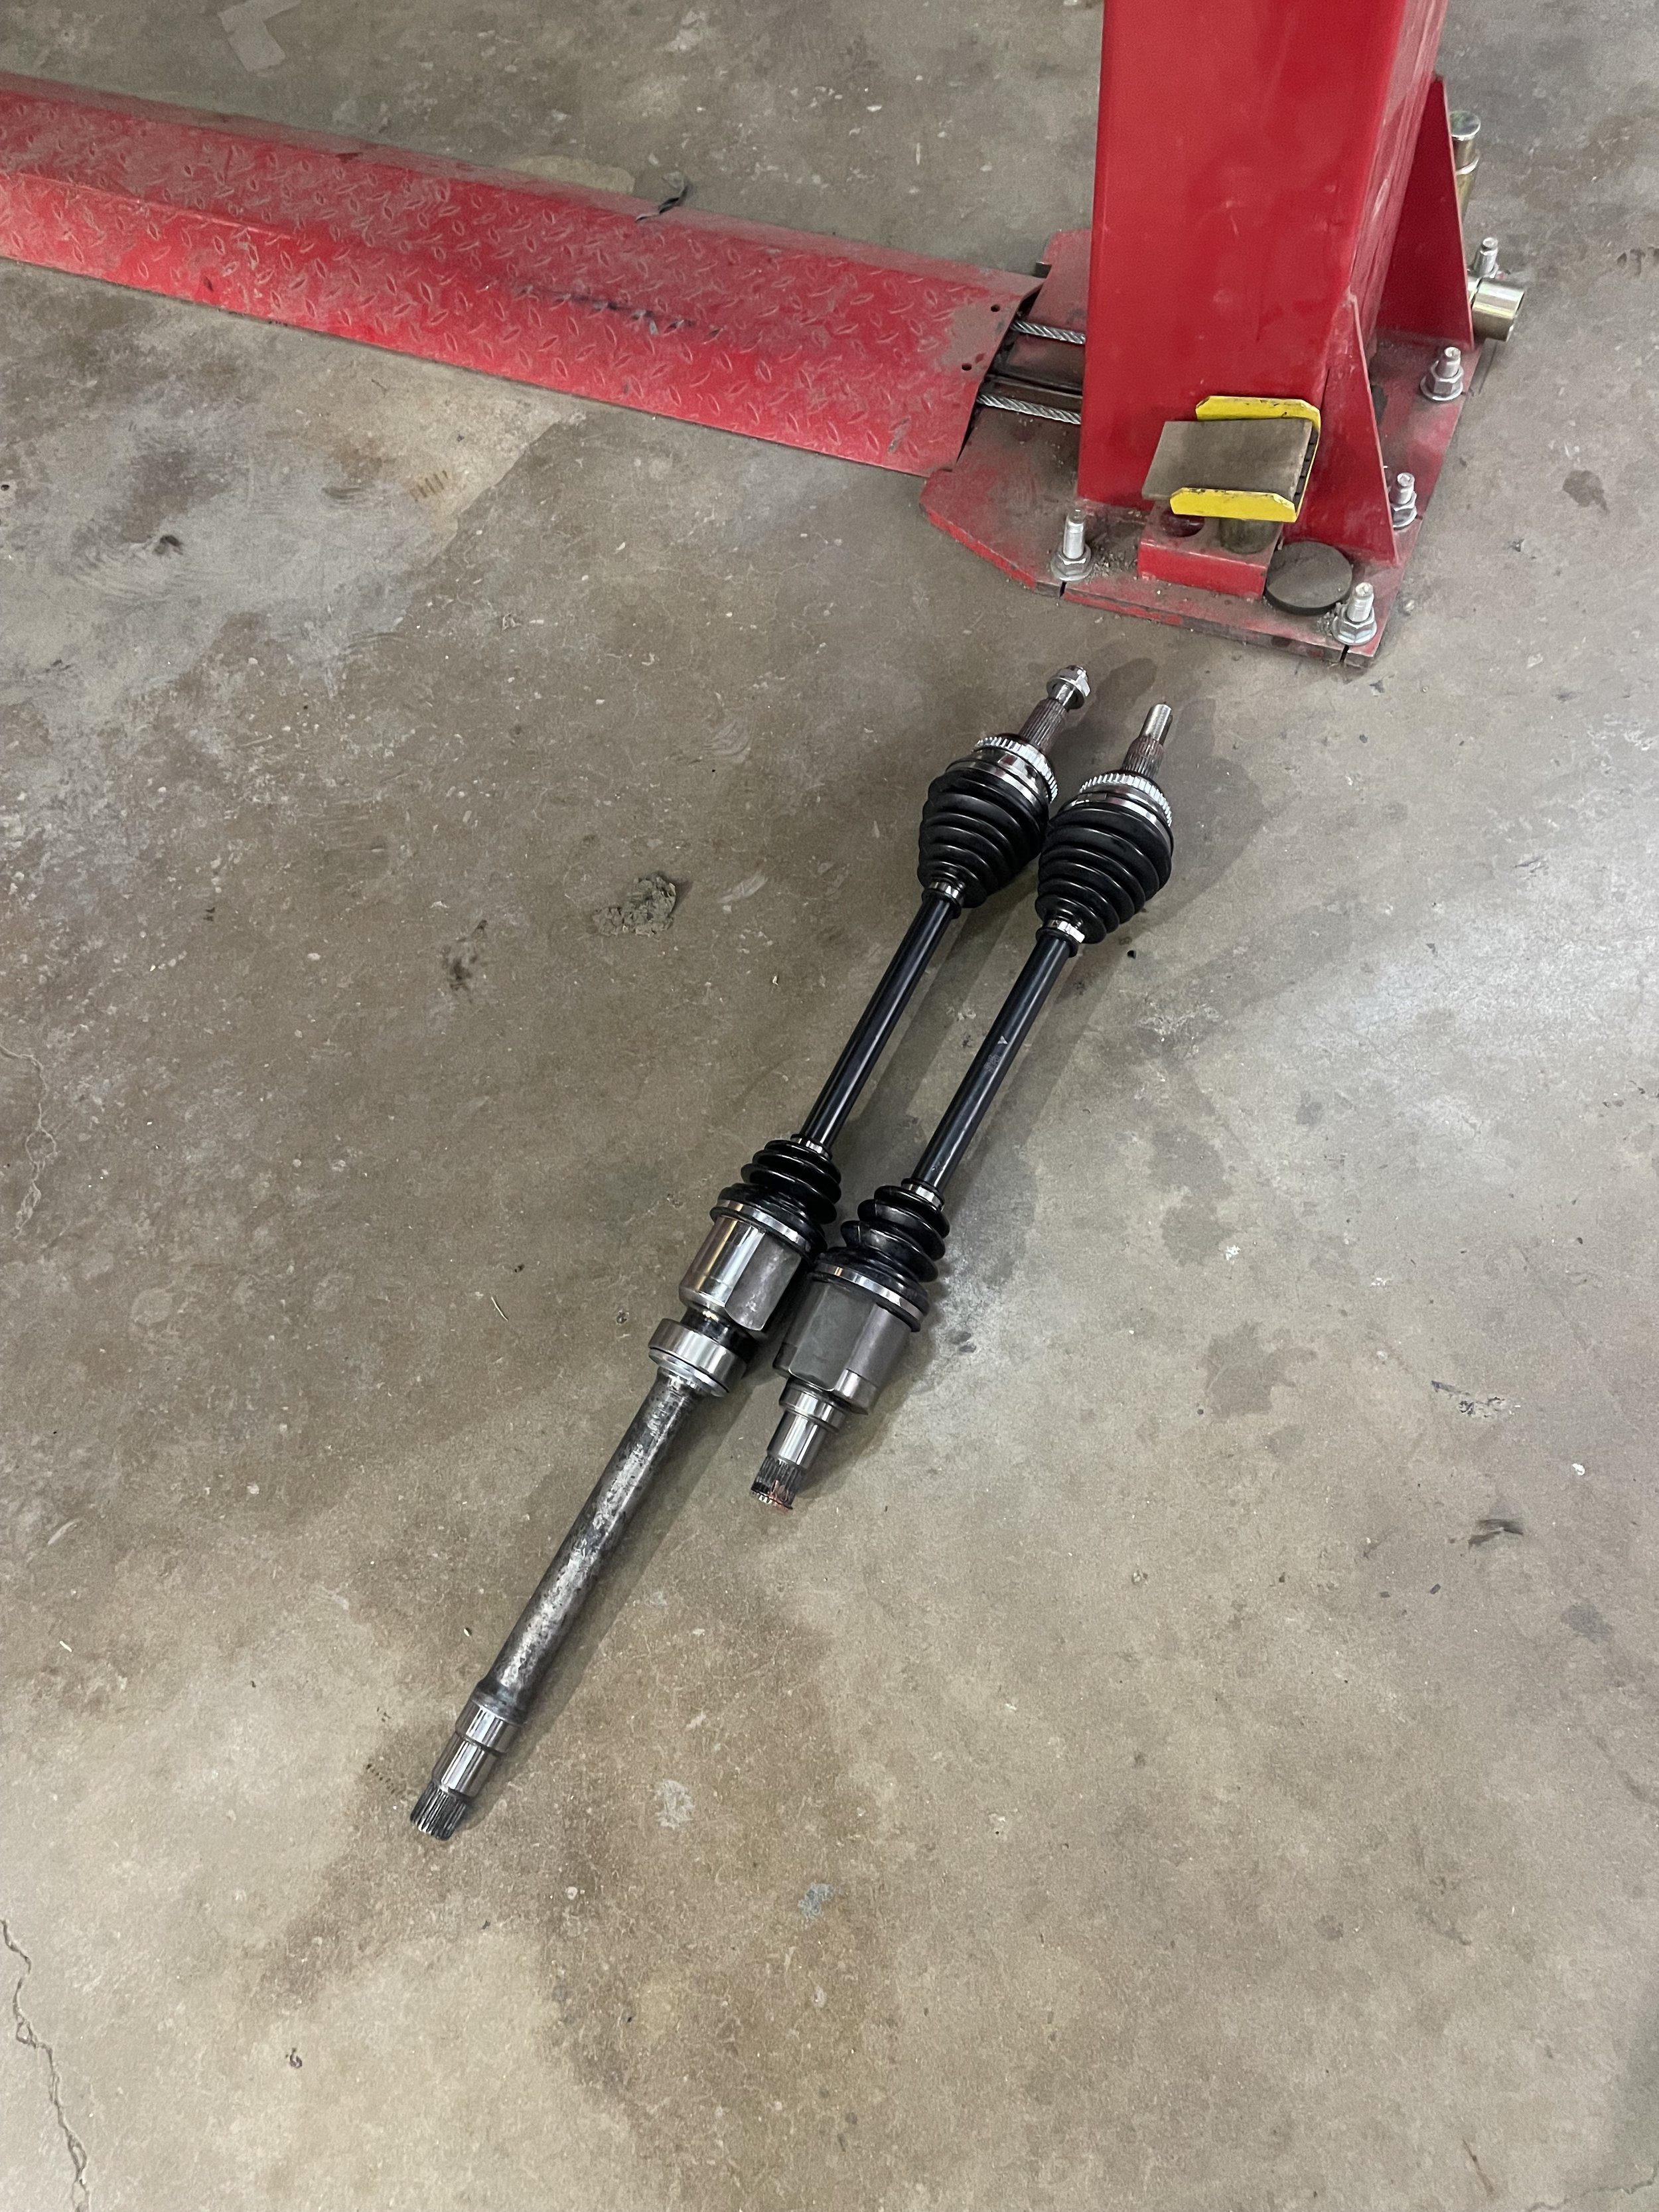
Axles took some work to figure out. The splines are the same on the auto and the E351, however depths and seal locations don’t work out. The manual is also significantly narrower and requires a longer driver side axle. Here’s what I ended up figuring out. Listed are part numbers of Trakmotive axles. I know this brand has interchangeable parts. Notice the driver side requires an entire axle for just a tripod and boot. I know for a fact I’ve received TO8154 with a compatible tripod and boot in the past for other projects, but this time it did not work and I had to order more axles to get the parts I needed. If you’re doing this, reach out to me. I may have a compatible tripod and boot handy. I regreased all 4 CVs with Redline CV-2 grease because I put this car through a lot of heavy work.
Driver Side
TO8154 inner CV cup
TO8184 outer CV and shaft
TO8270 inner CV tripod and boot
Passenger Side
TO 8270 inner CV cup, tripod, and boot
TO8184 outer CV and shaft
Clutch Hydraulics
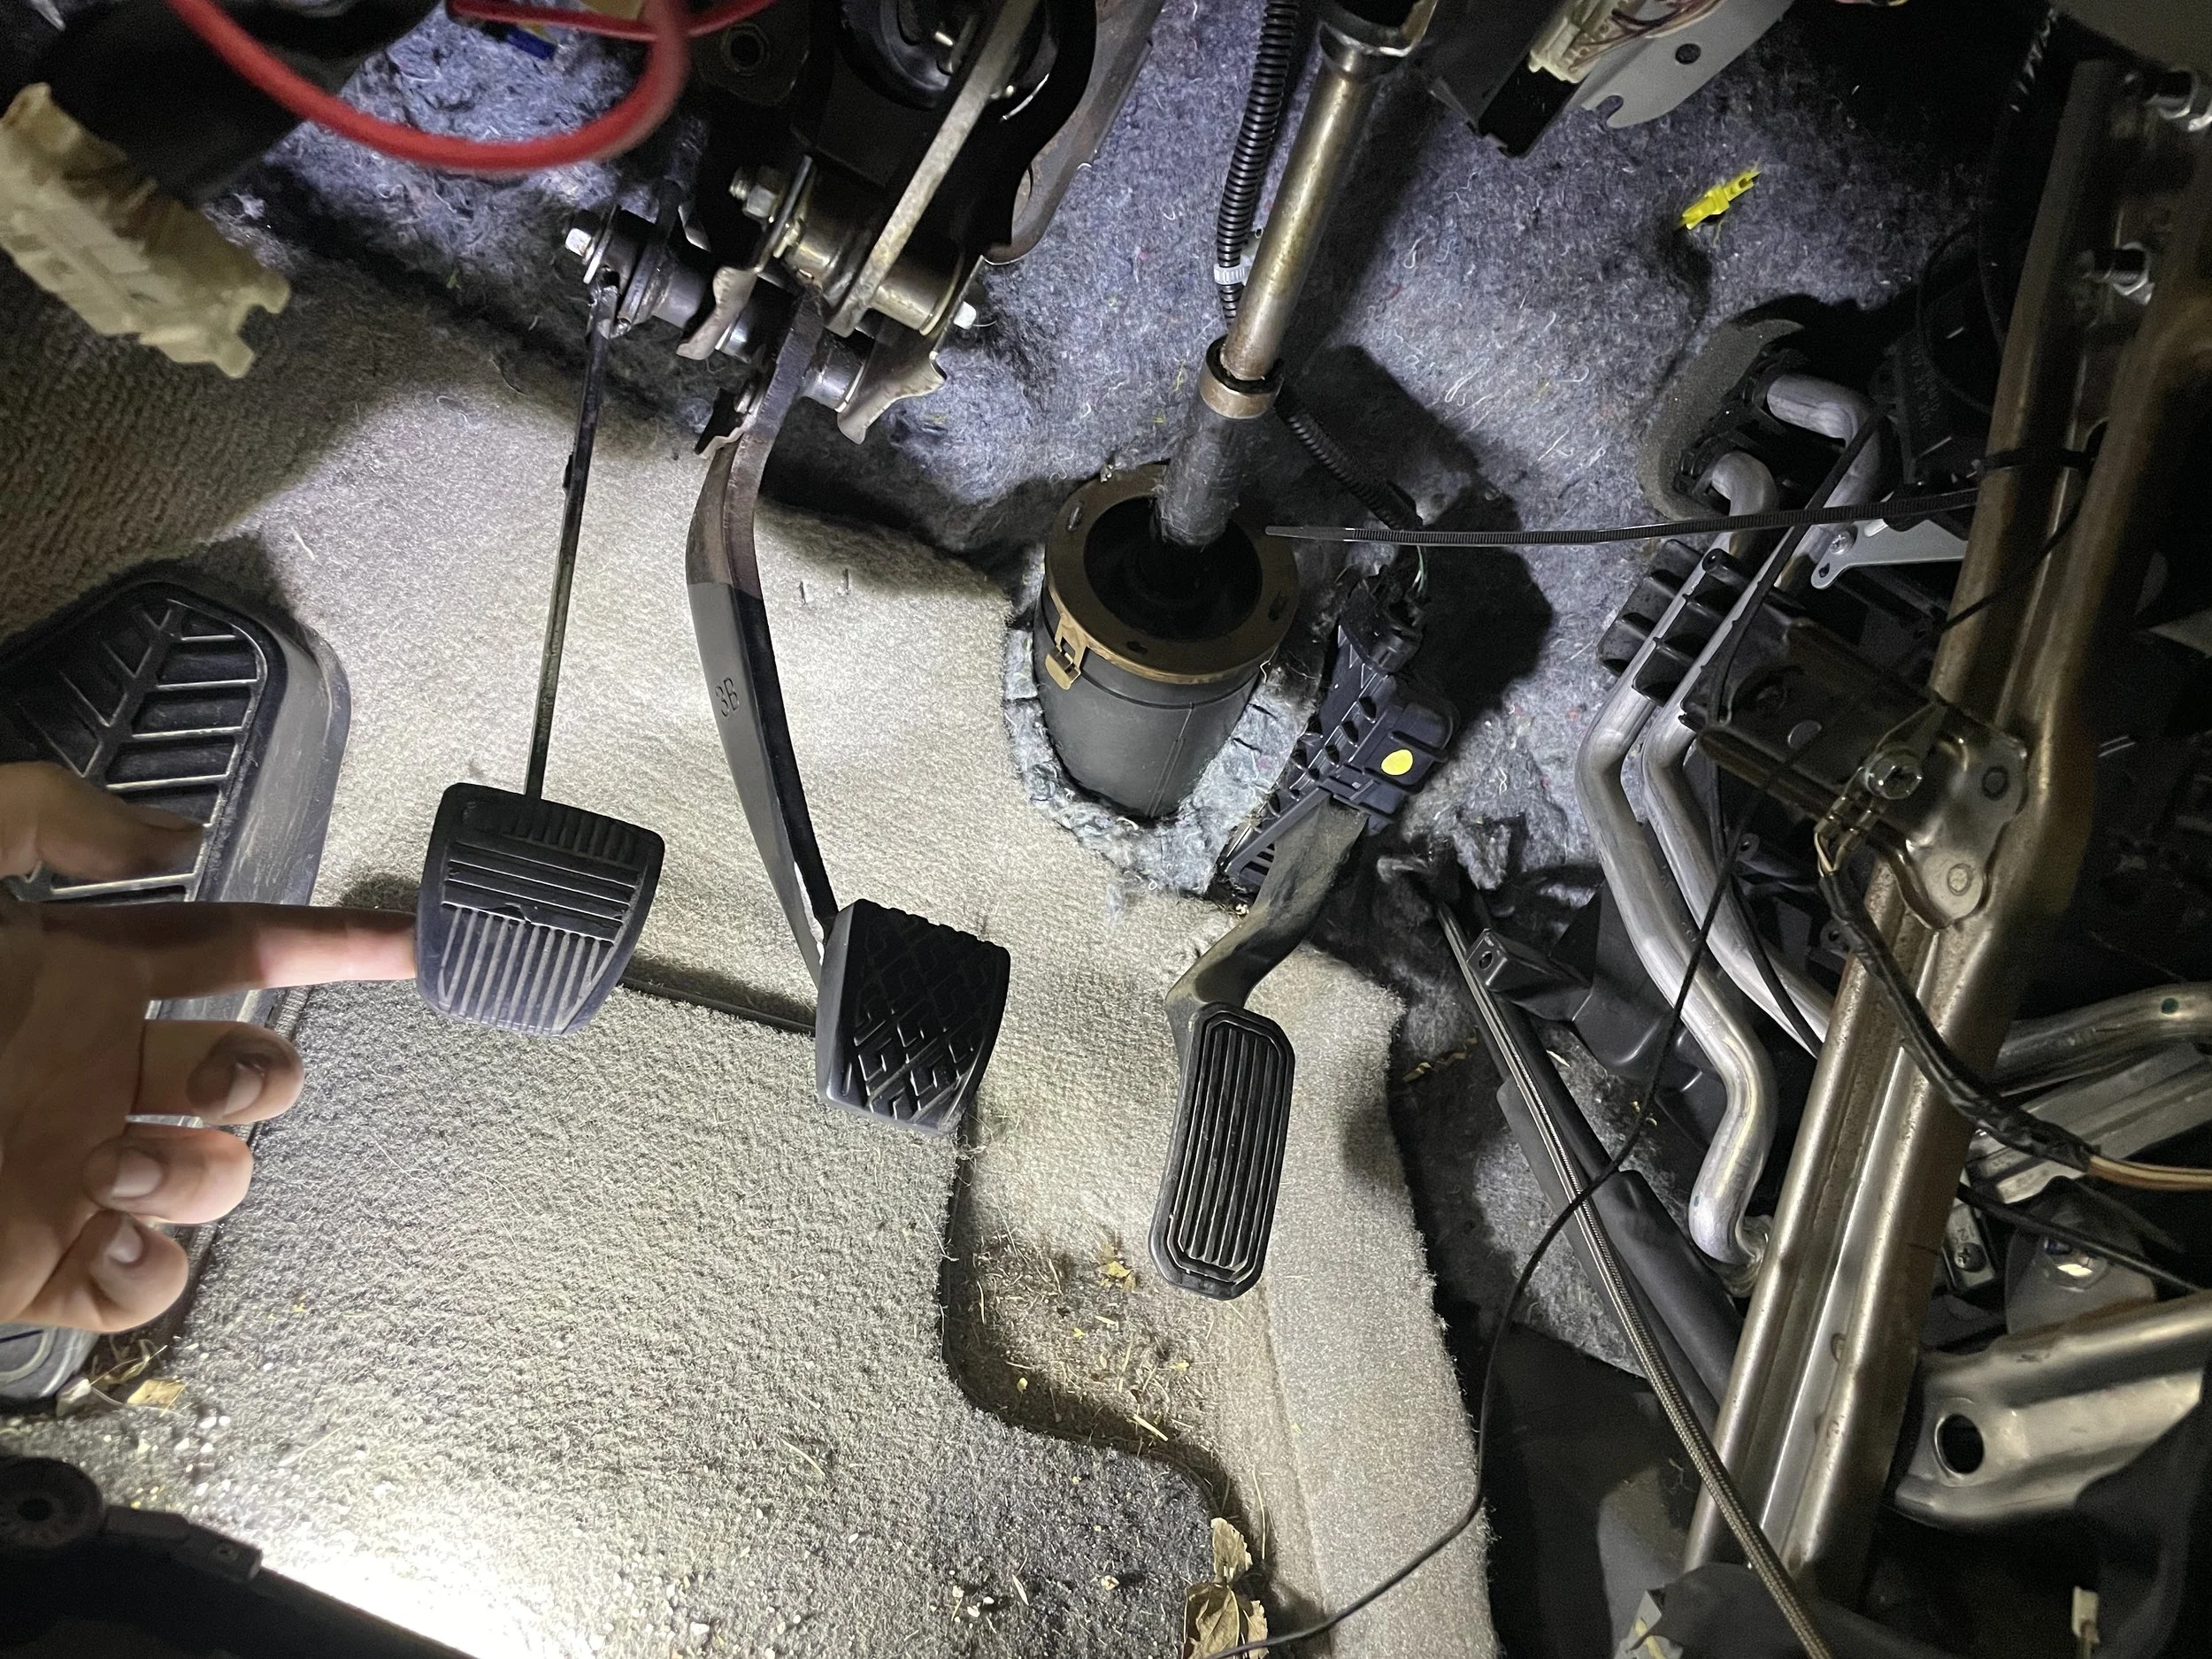
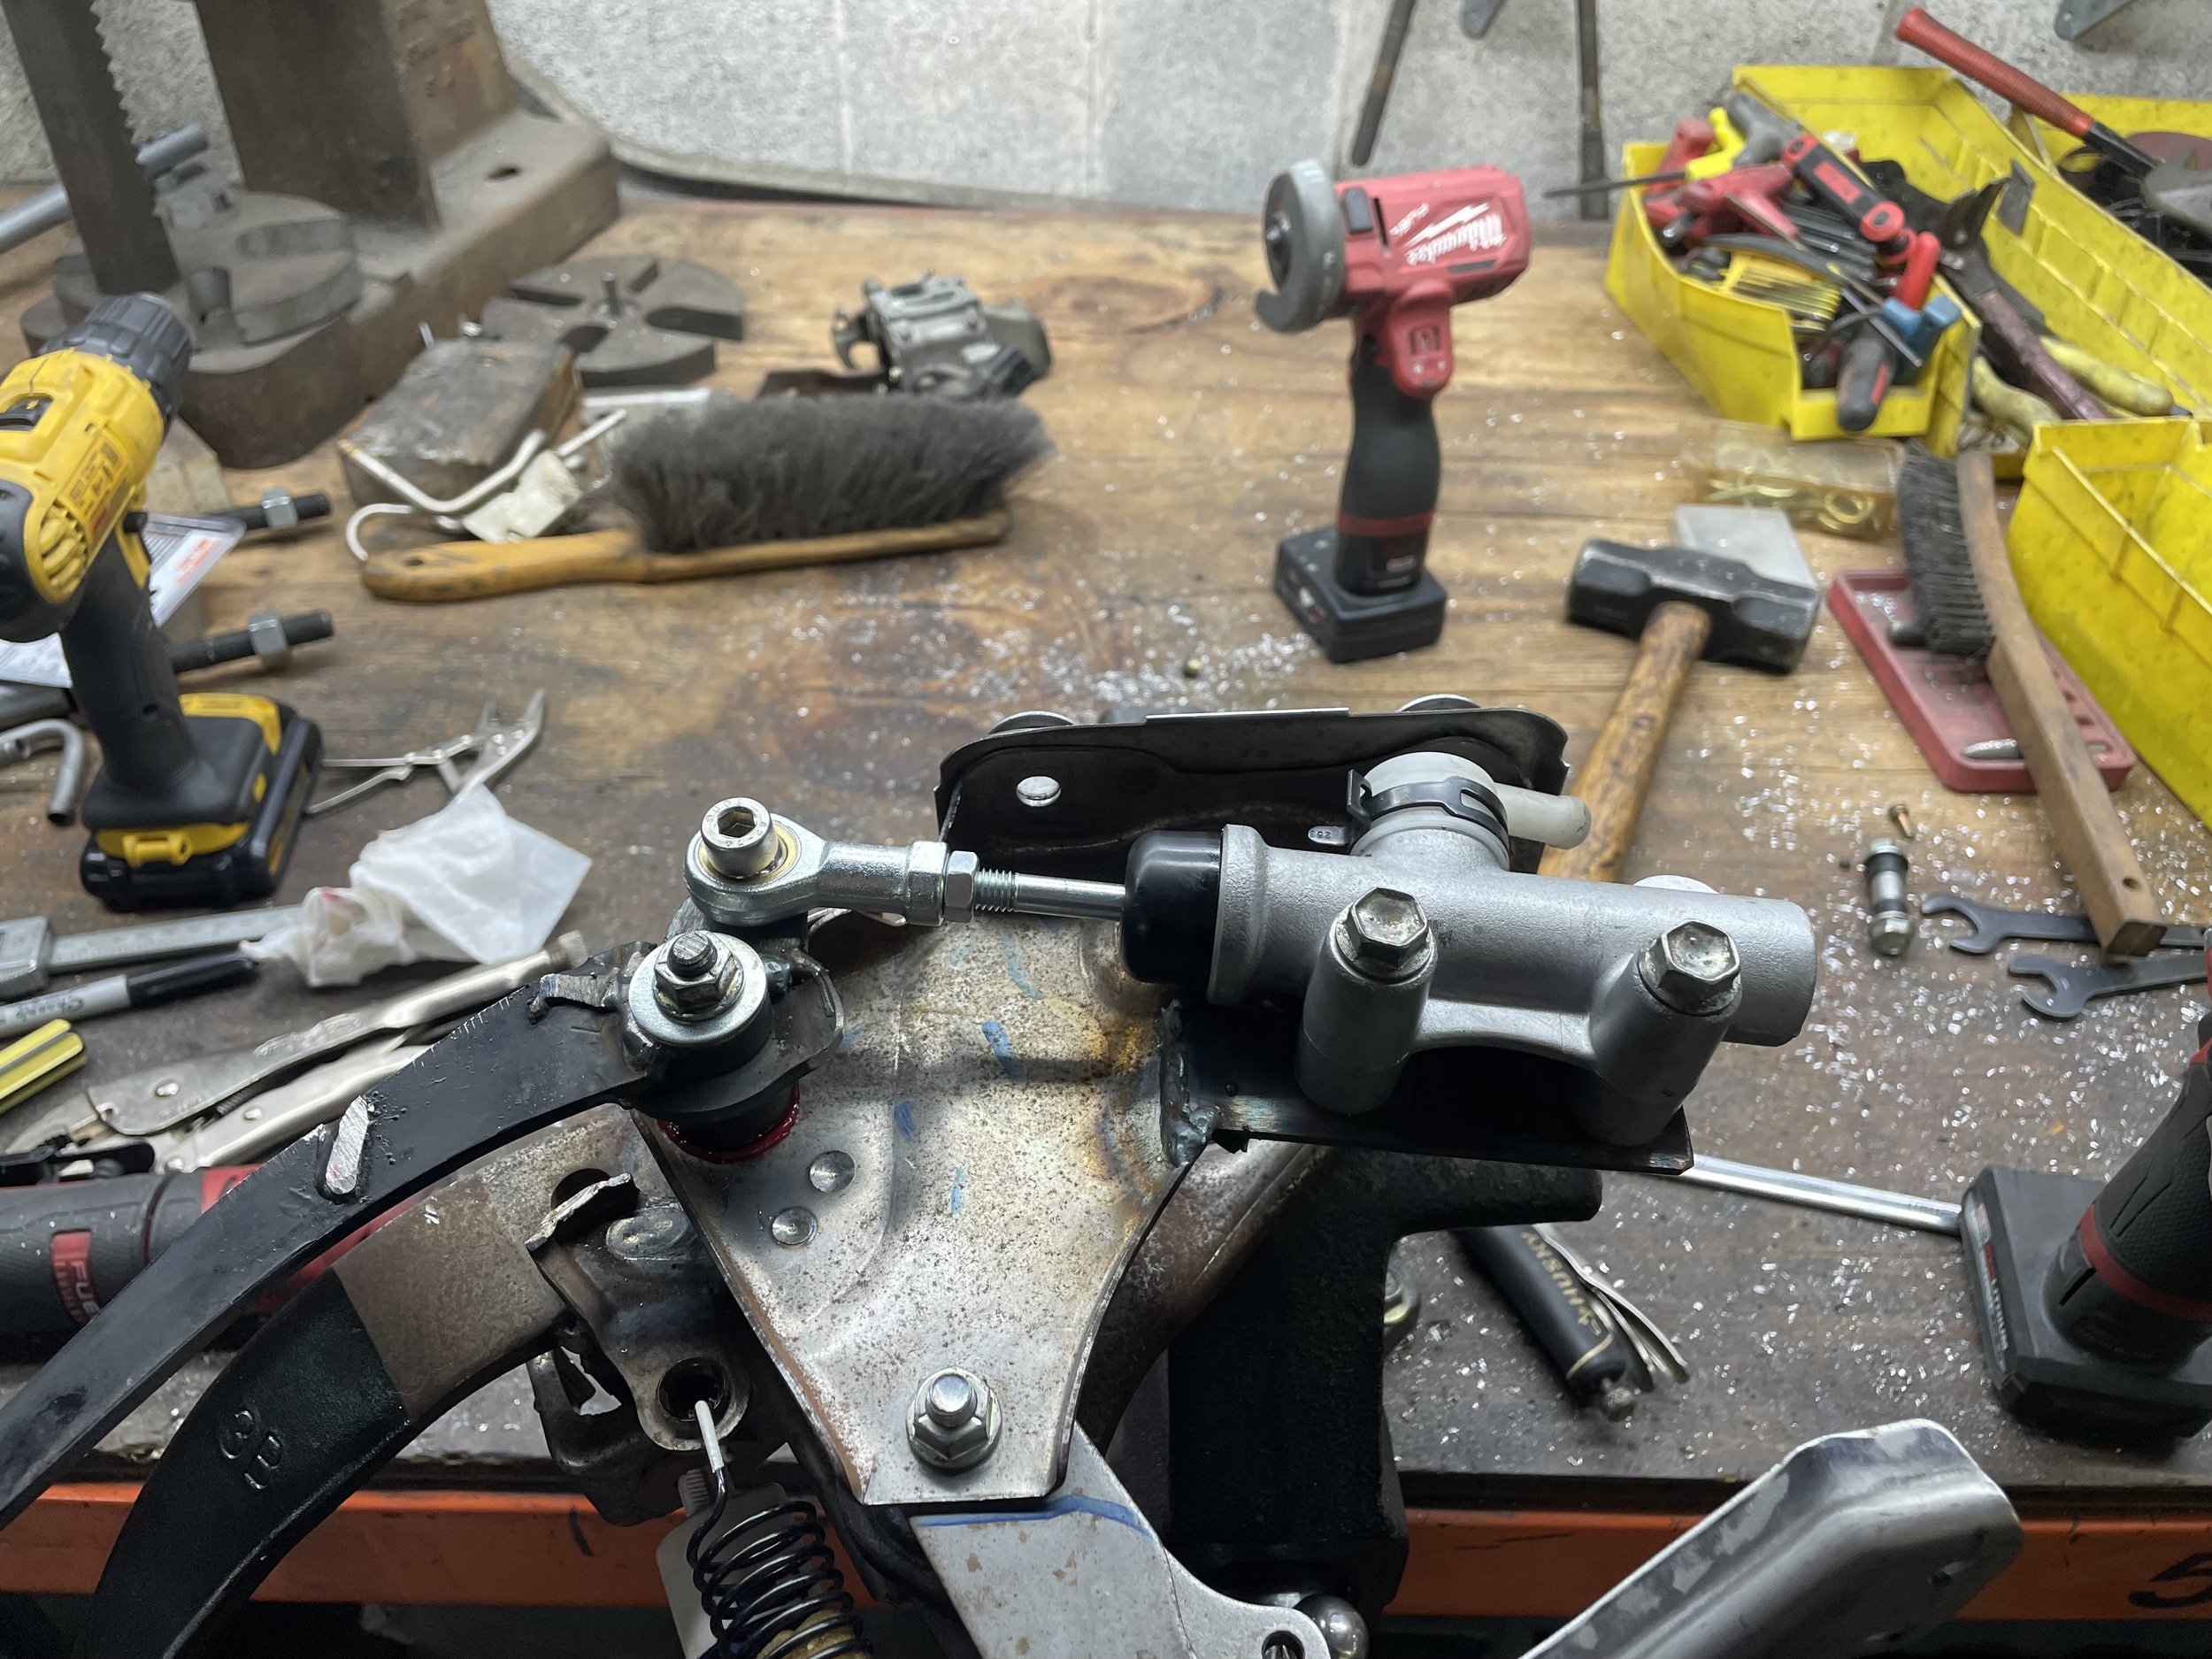
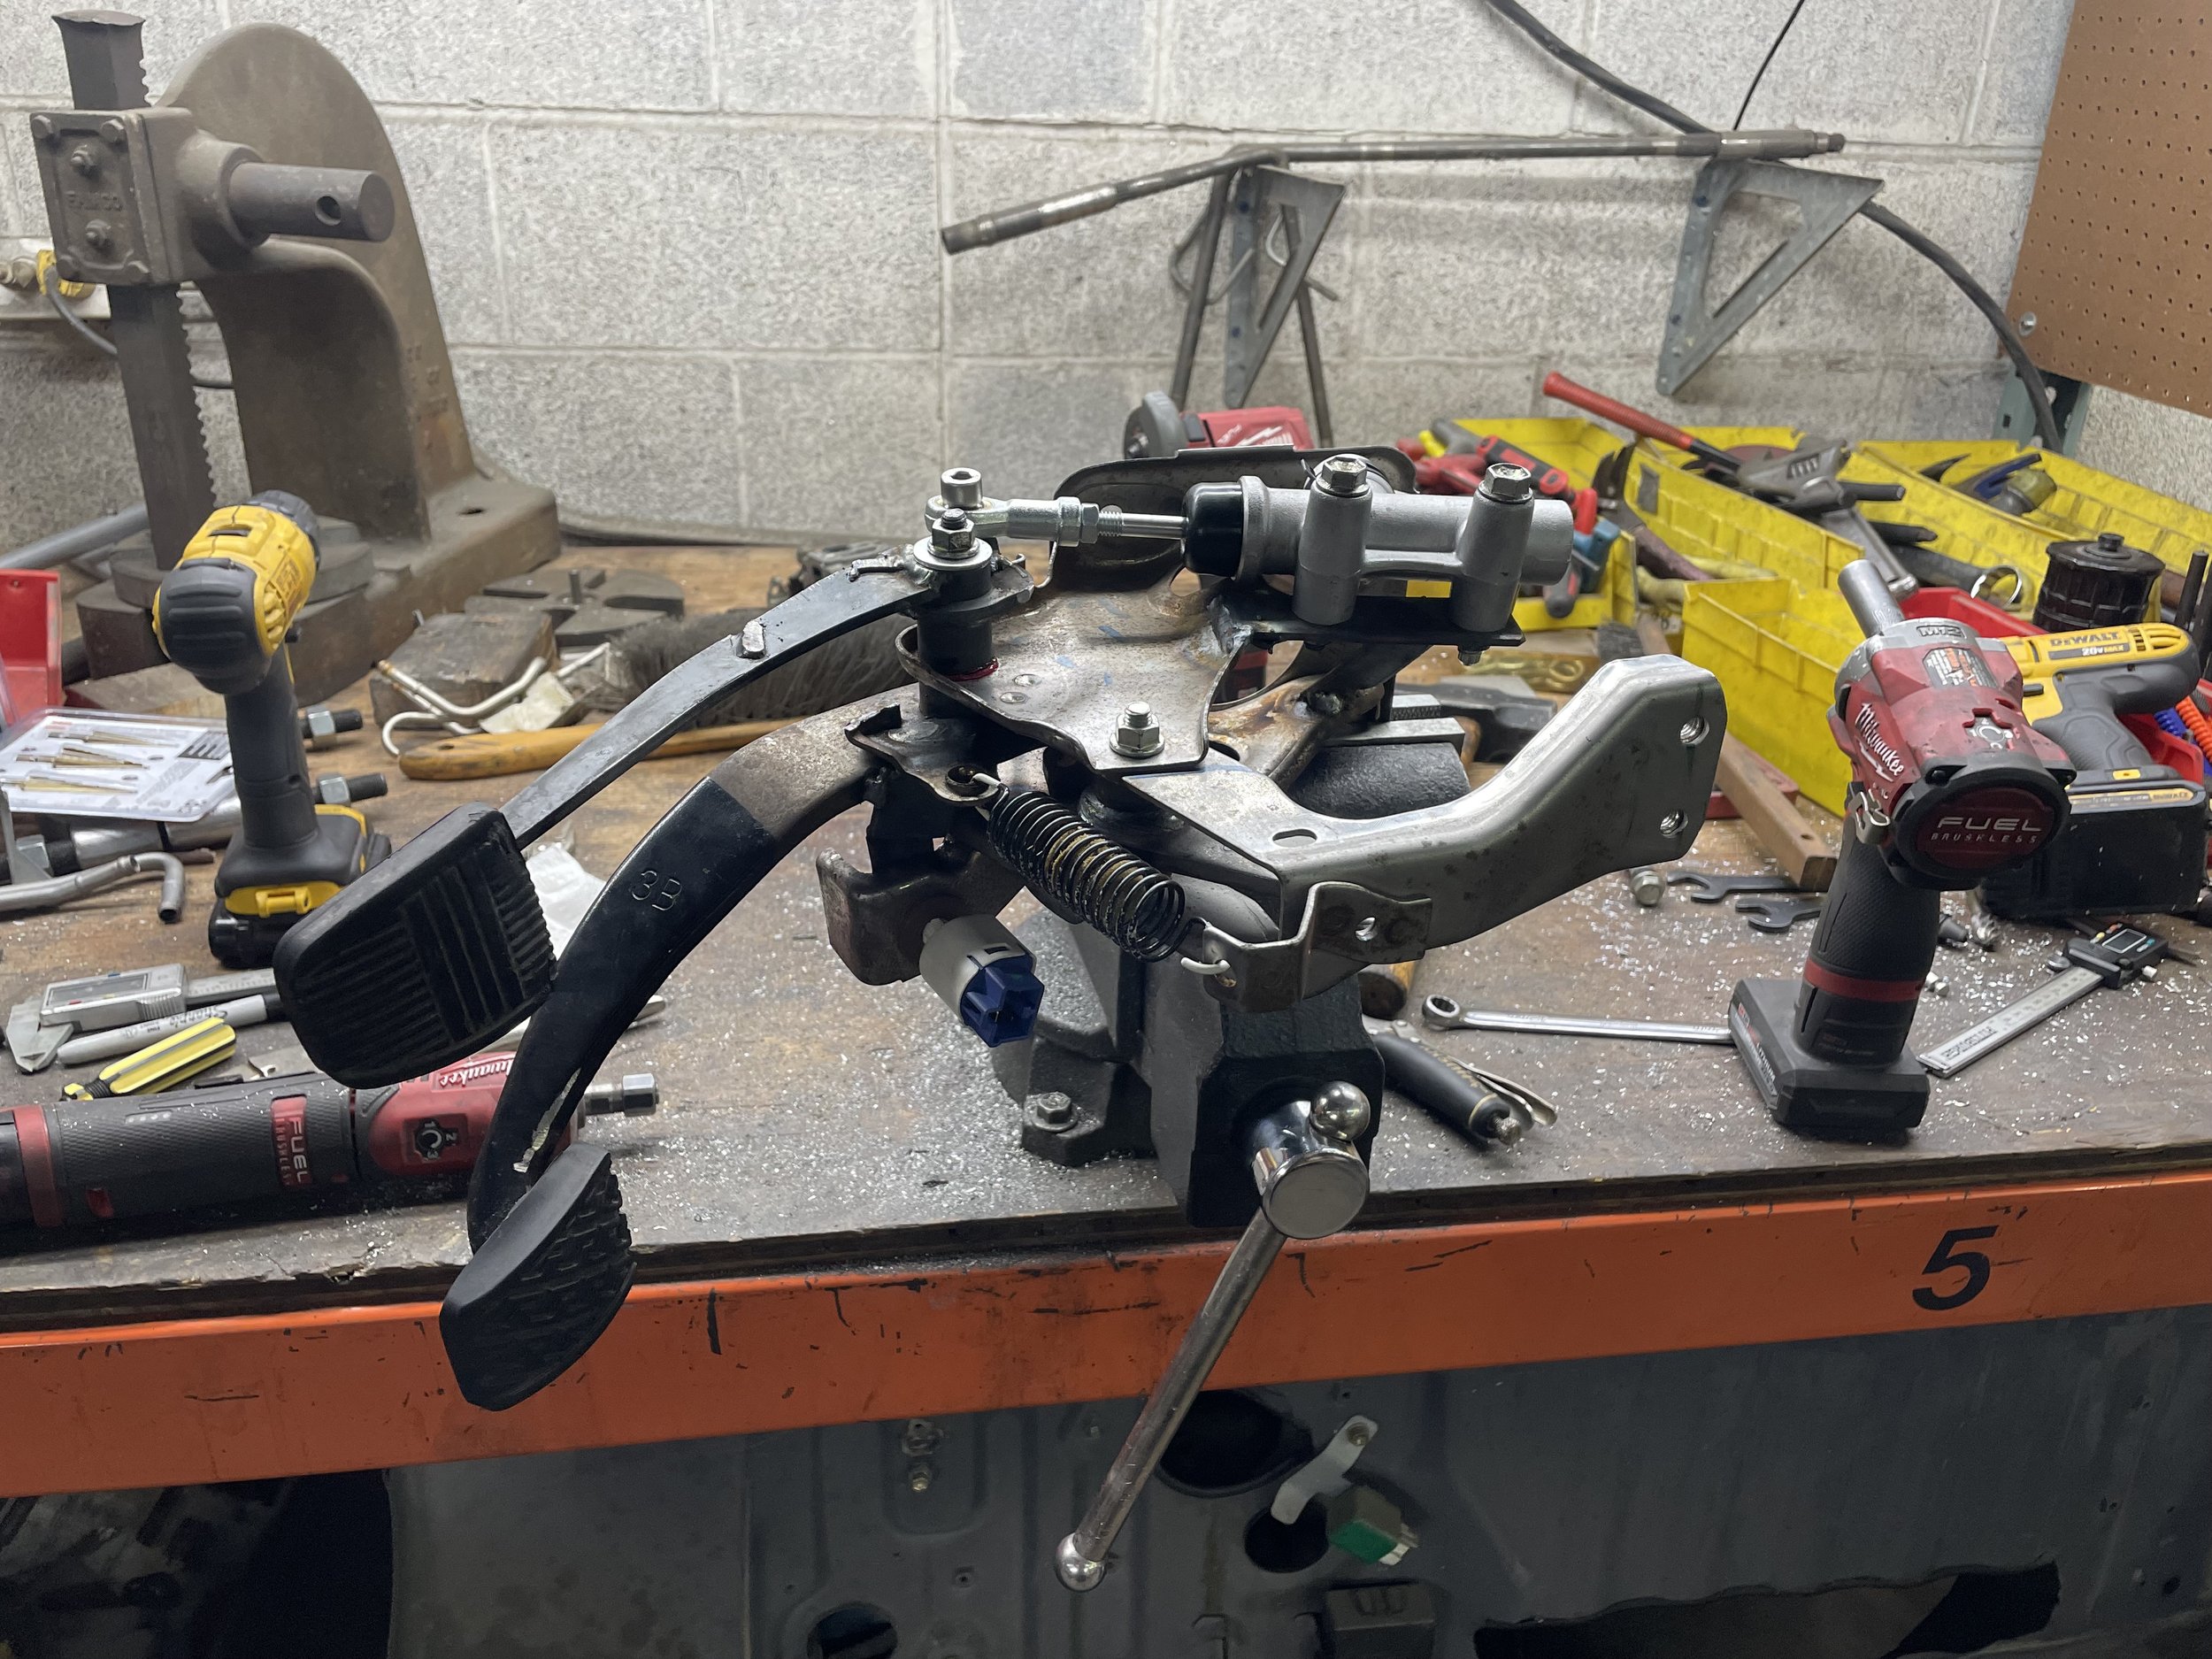
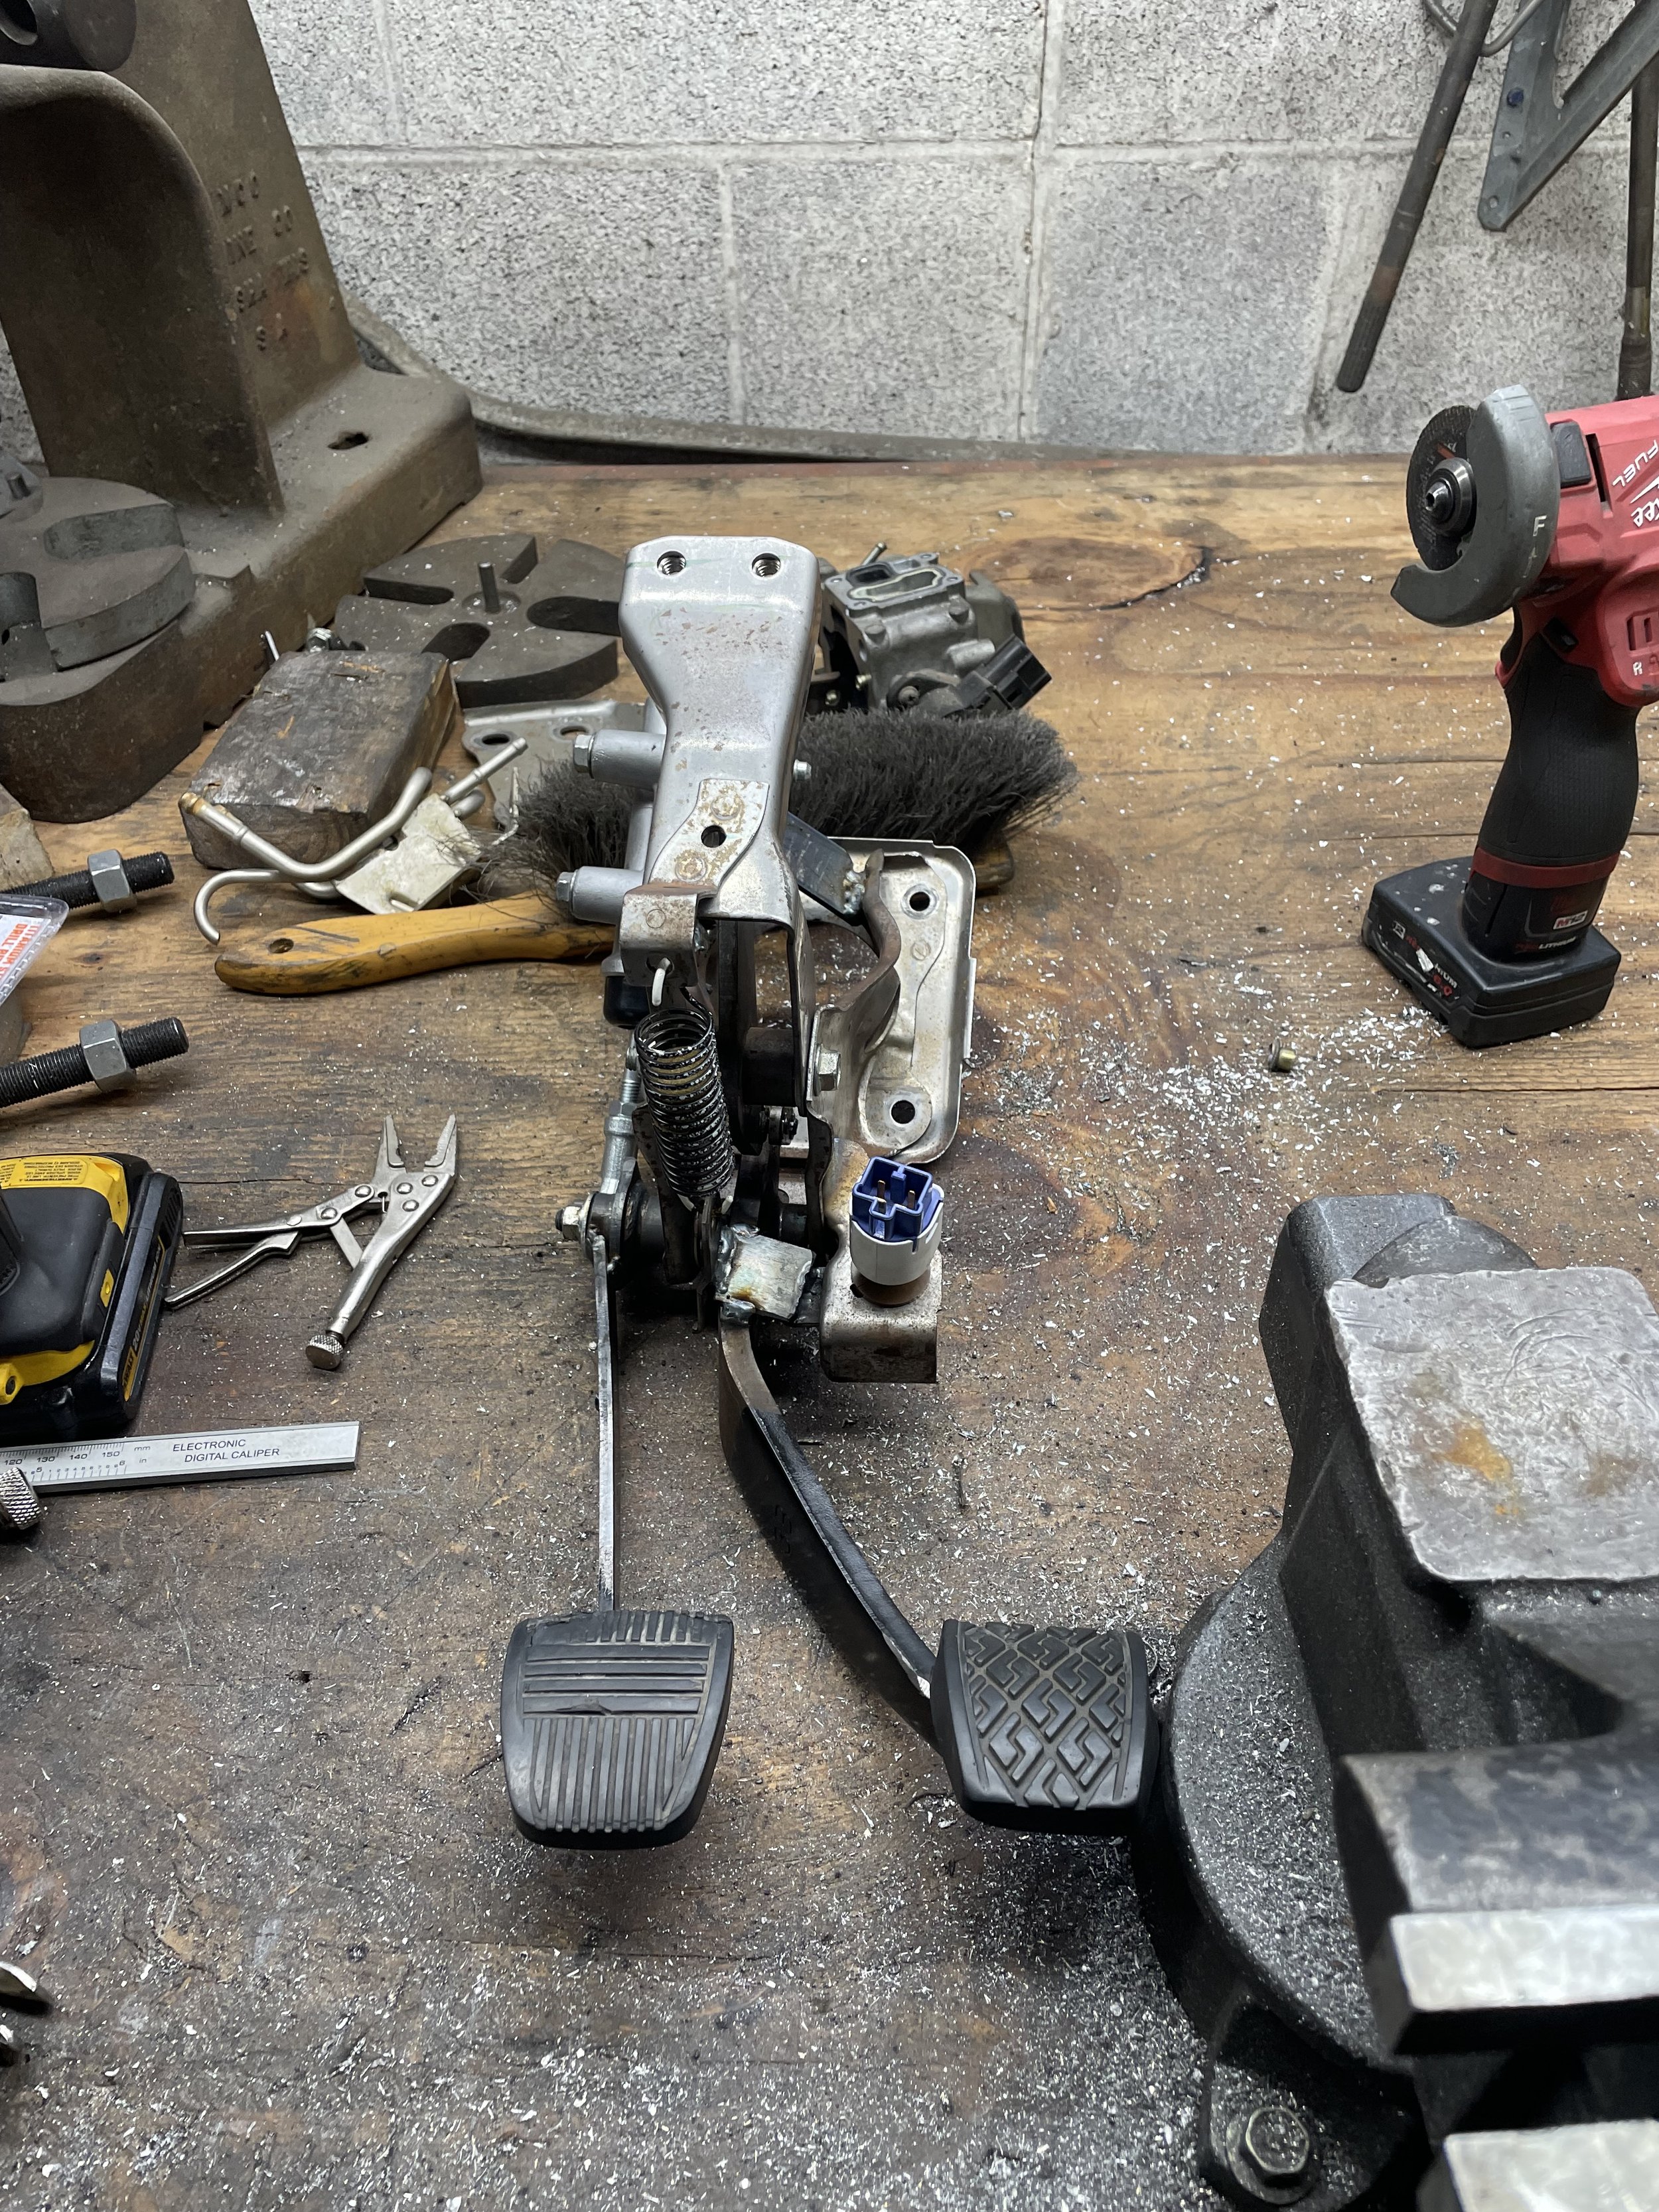
I used a 2005 4Runner clutch master cylinder mounted to the brake pedal assembly. I used a Scion xA clutch pedal to start with and machined a pivot spacer for this to use with a longer bolt through the brake pedal pivot. You could just as easily start with any clutch pedal, but I had this handy. The 4Runner master has a different bore size than most Toyotas. The key measurement here is the lever length on the arm that actuated the master was 27.5mm center to center. This is of course with the pivot in the same axis as the brake pedal pivot. I used an M8 rod end to attach the pedal to the master.
This master cylinder is intended for a remote reservoir. Luckily the Sienna already has a remote brake fluid reservoir. I simply used a steel tee fitting in the rear brake fluid hose, and made sure to use hose intended for brake fluid.
I used a CRT010 slave cylinder, with a 35 degree 10mm to -3 AN banjo fitting and a M10x1.0 banjo bolt. This was connected to a 70 inch long -3 AN stainless brake line. This easily could have been a foot shorter. At the master I used a M10x1.0 inverted flare to -3 AN brake fitting.
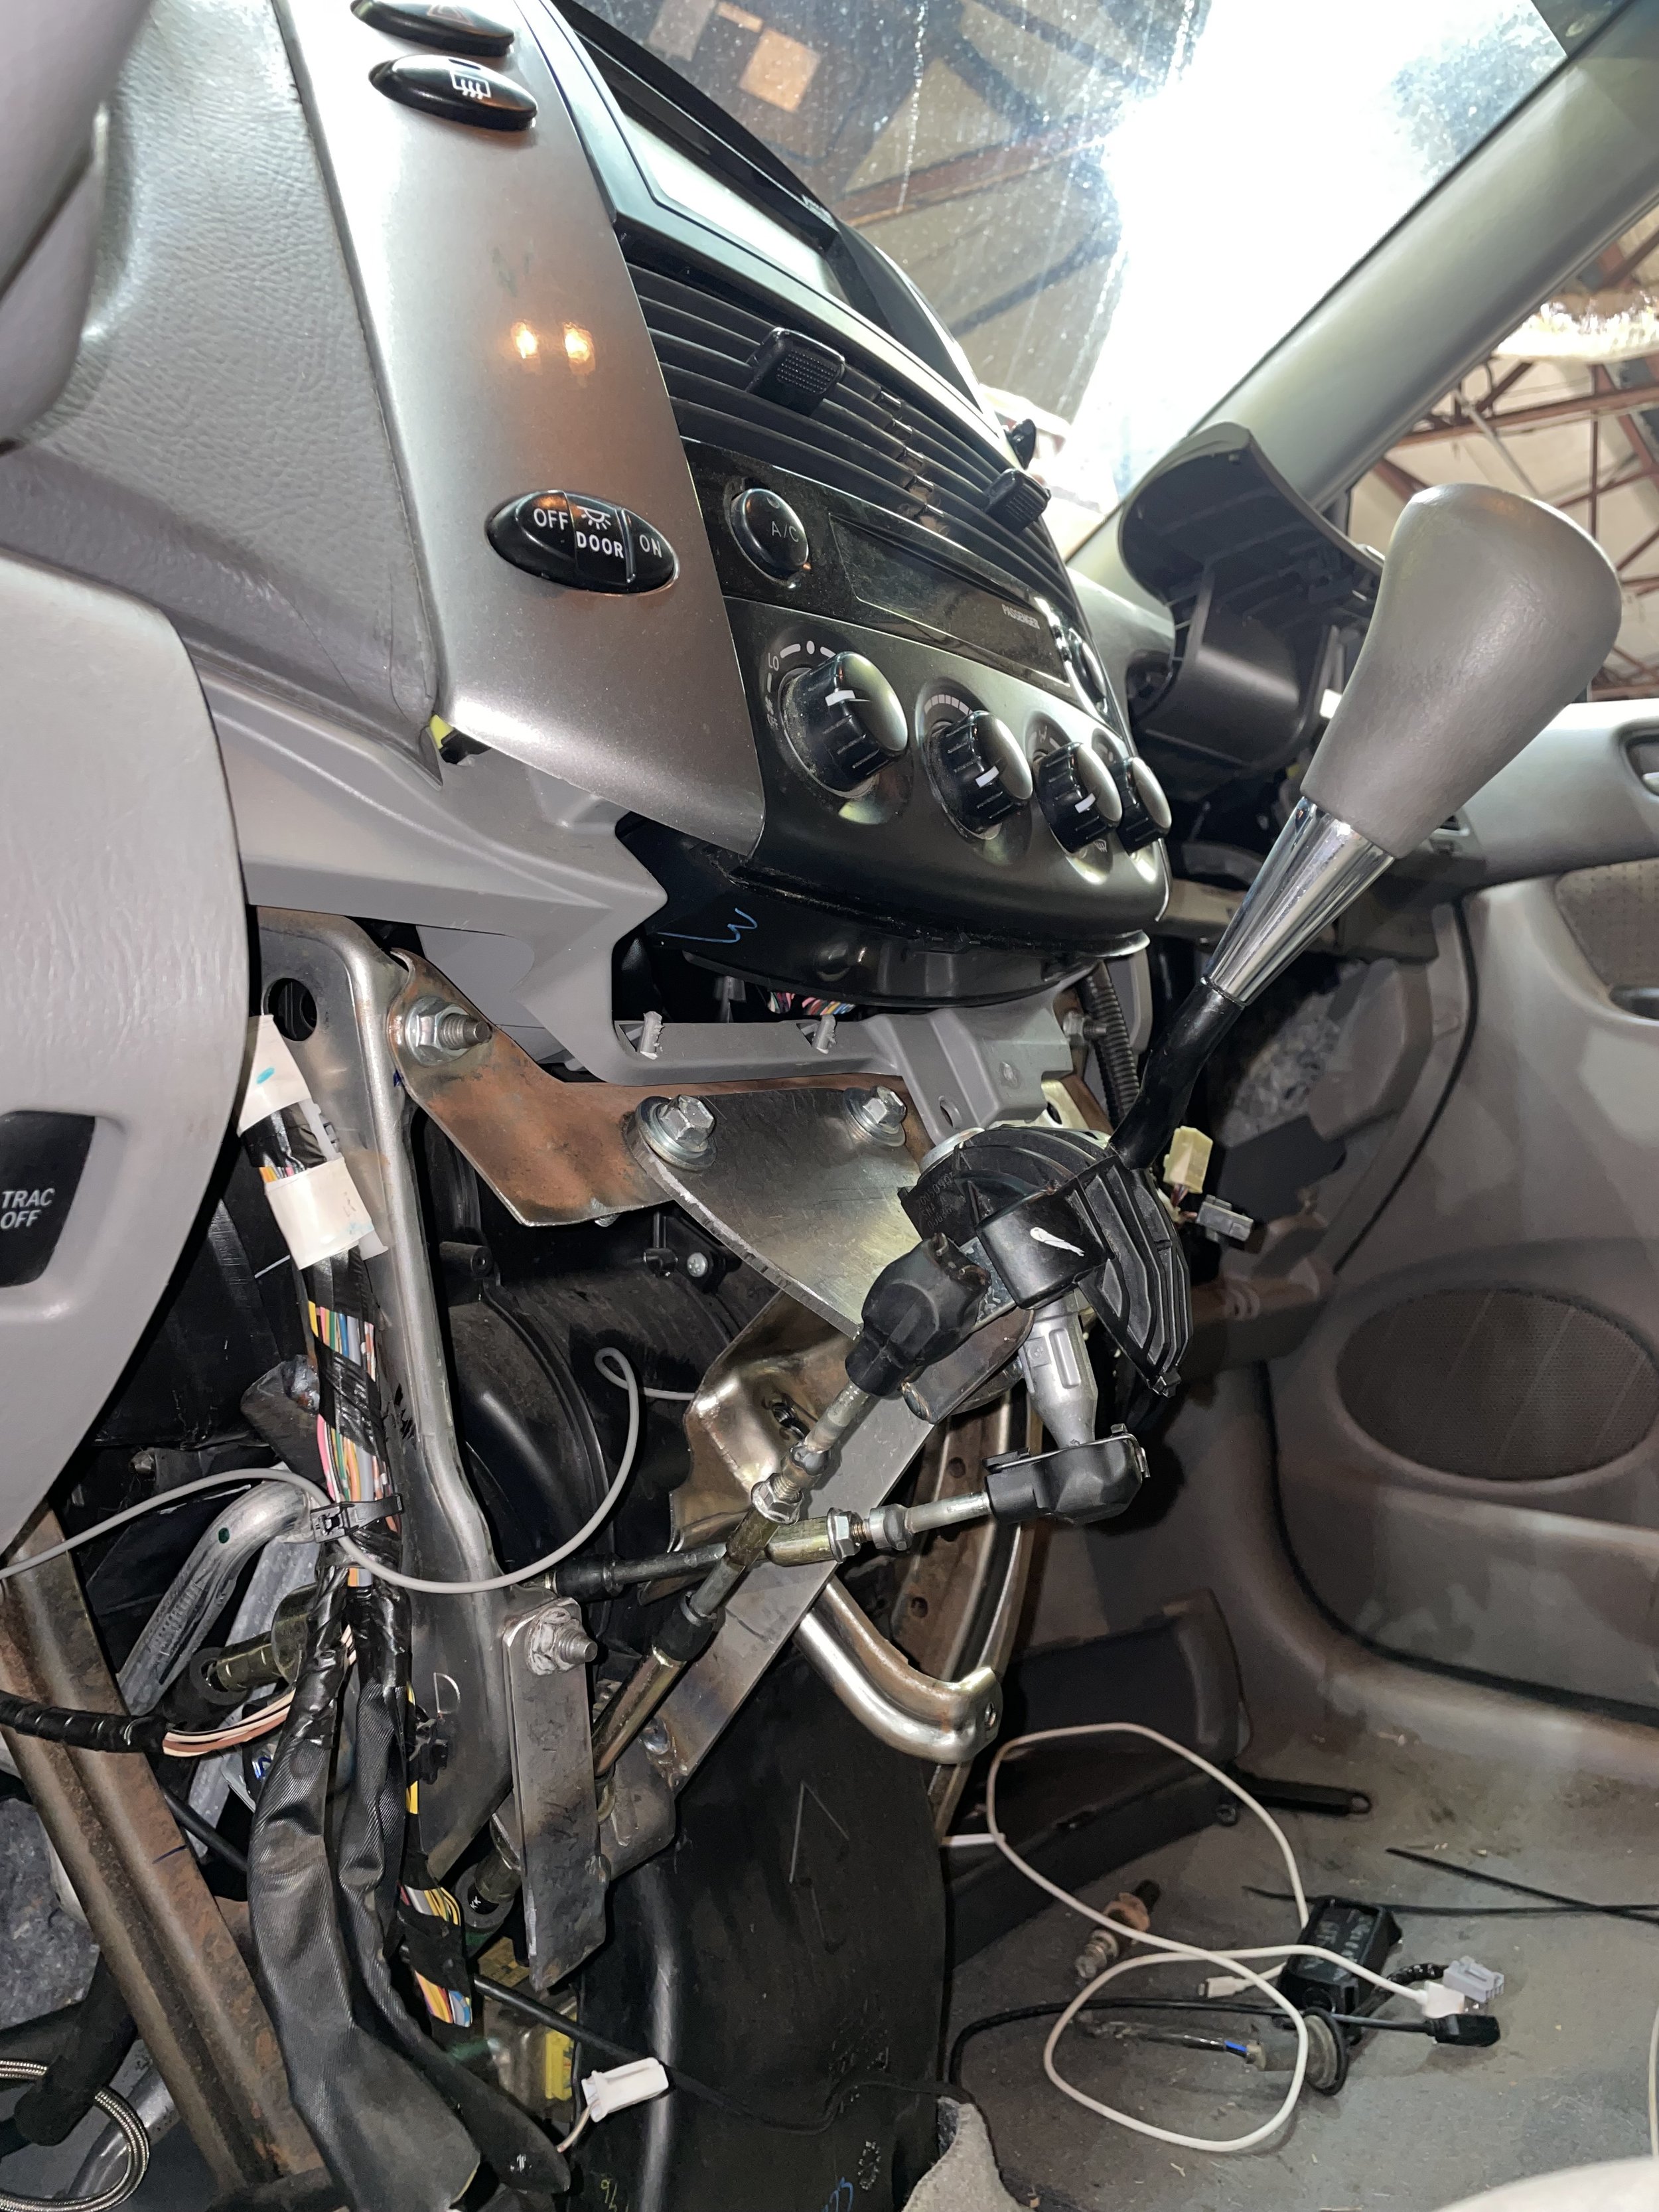
The clutch hydraulic hoses are run through the original shift cable hole along with the new shift cables. This will preferably have a 40mm grommet which I am still working on sourcing.
I had to relocate the brake switch to the other side of the brake pedal. I cut down the brake pedal pad to fit a Toyota manual brake pedal cushion.
Shifter
I bought a 06-11 Civic non-Si manual shifter with cables from eBay. I only ended up using the complicated part of the shifter mechanism, and the cable ends. I used MR2 lateral shift cables, as the Civic cables didn’t have enough throw to work on the E351. Any 85-95 MR2 lateral cables would work. I started with 3D printing to find the ideal position for the shifter in the interior, then remade this piece out of steel. I cut the interior ends off the Civic cables, and welded them to some M6 bolts that would thread into the MR2 cables for adjustability. I then cut up a Toyota shifter for the cable mounting points, and tacked up an assembly in the car. I tested it for motion, it fell apart, and I redid it. I got it on the second try, fully welded it, and installed it for real. The longitudinal cable is mounted to a dash brace and is not removable. The cable can come out of the mount.
I was relieved to see that all the interior pieces cleared my shifter with no modification.
Electronics
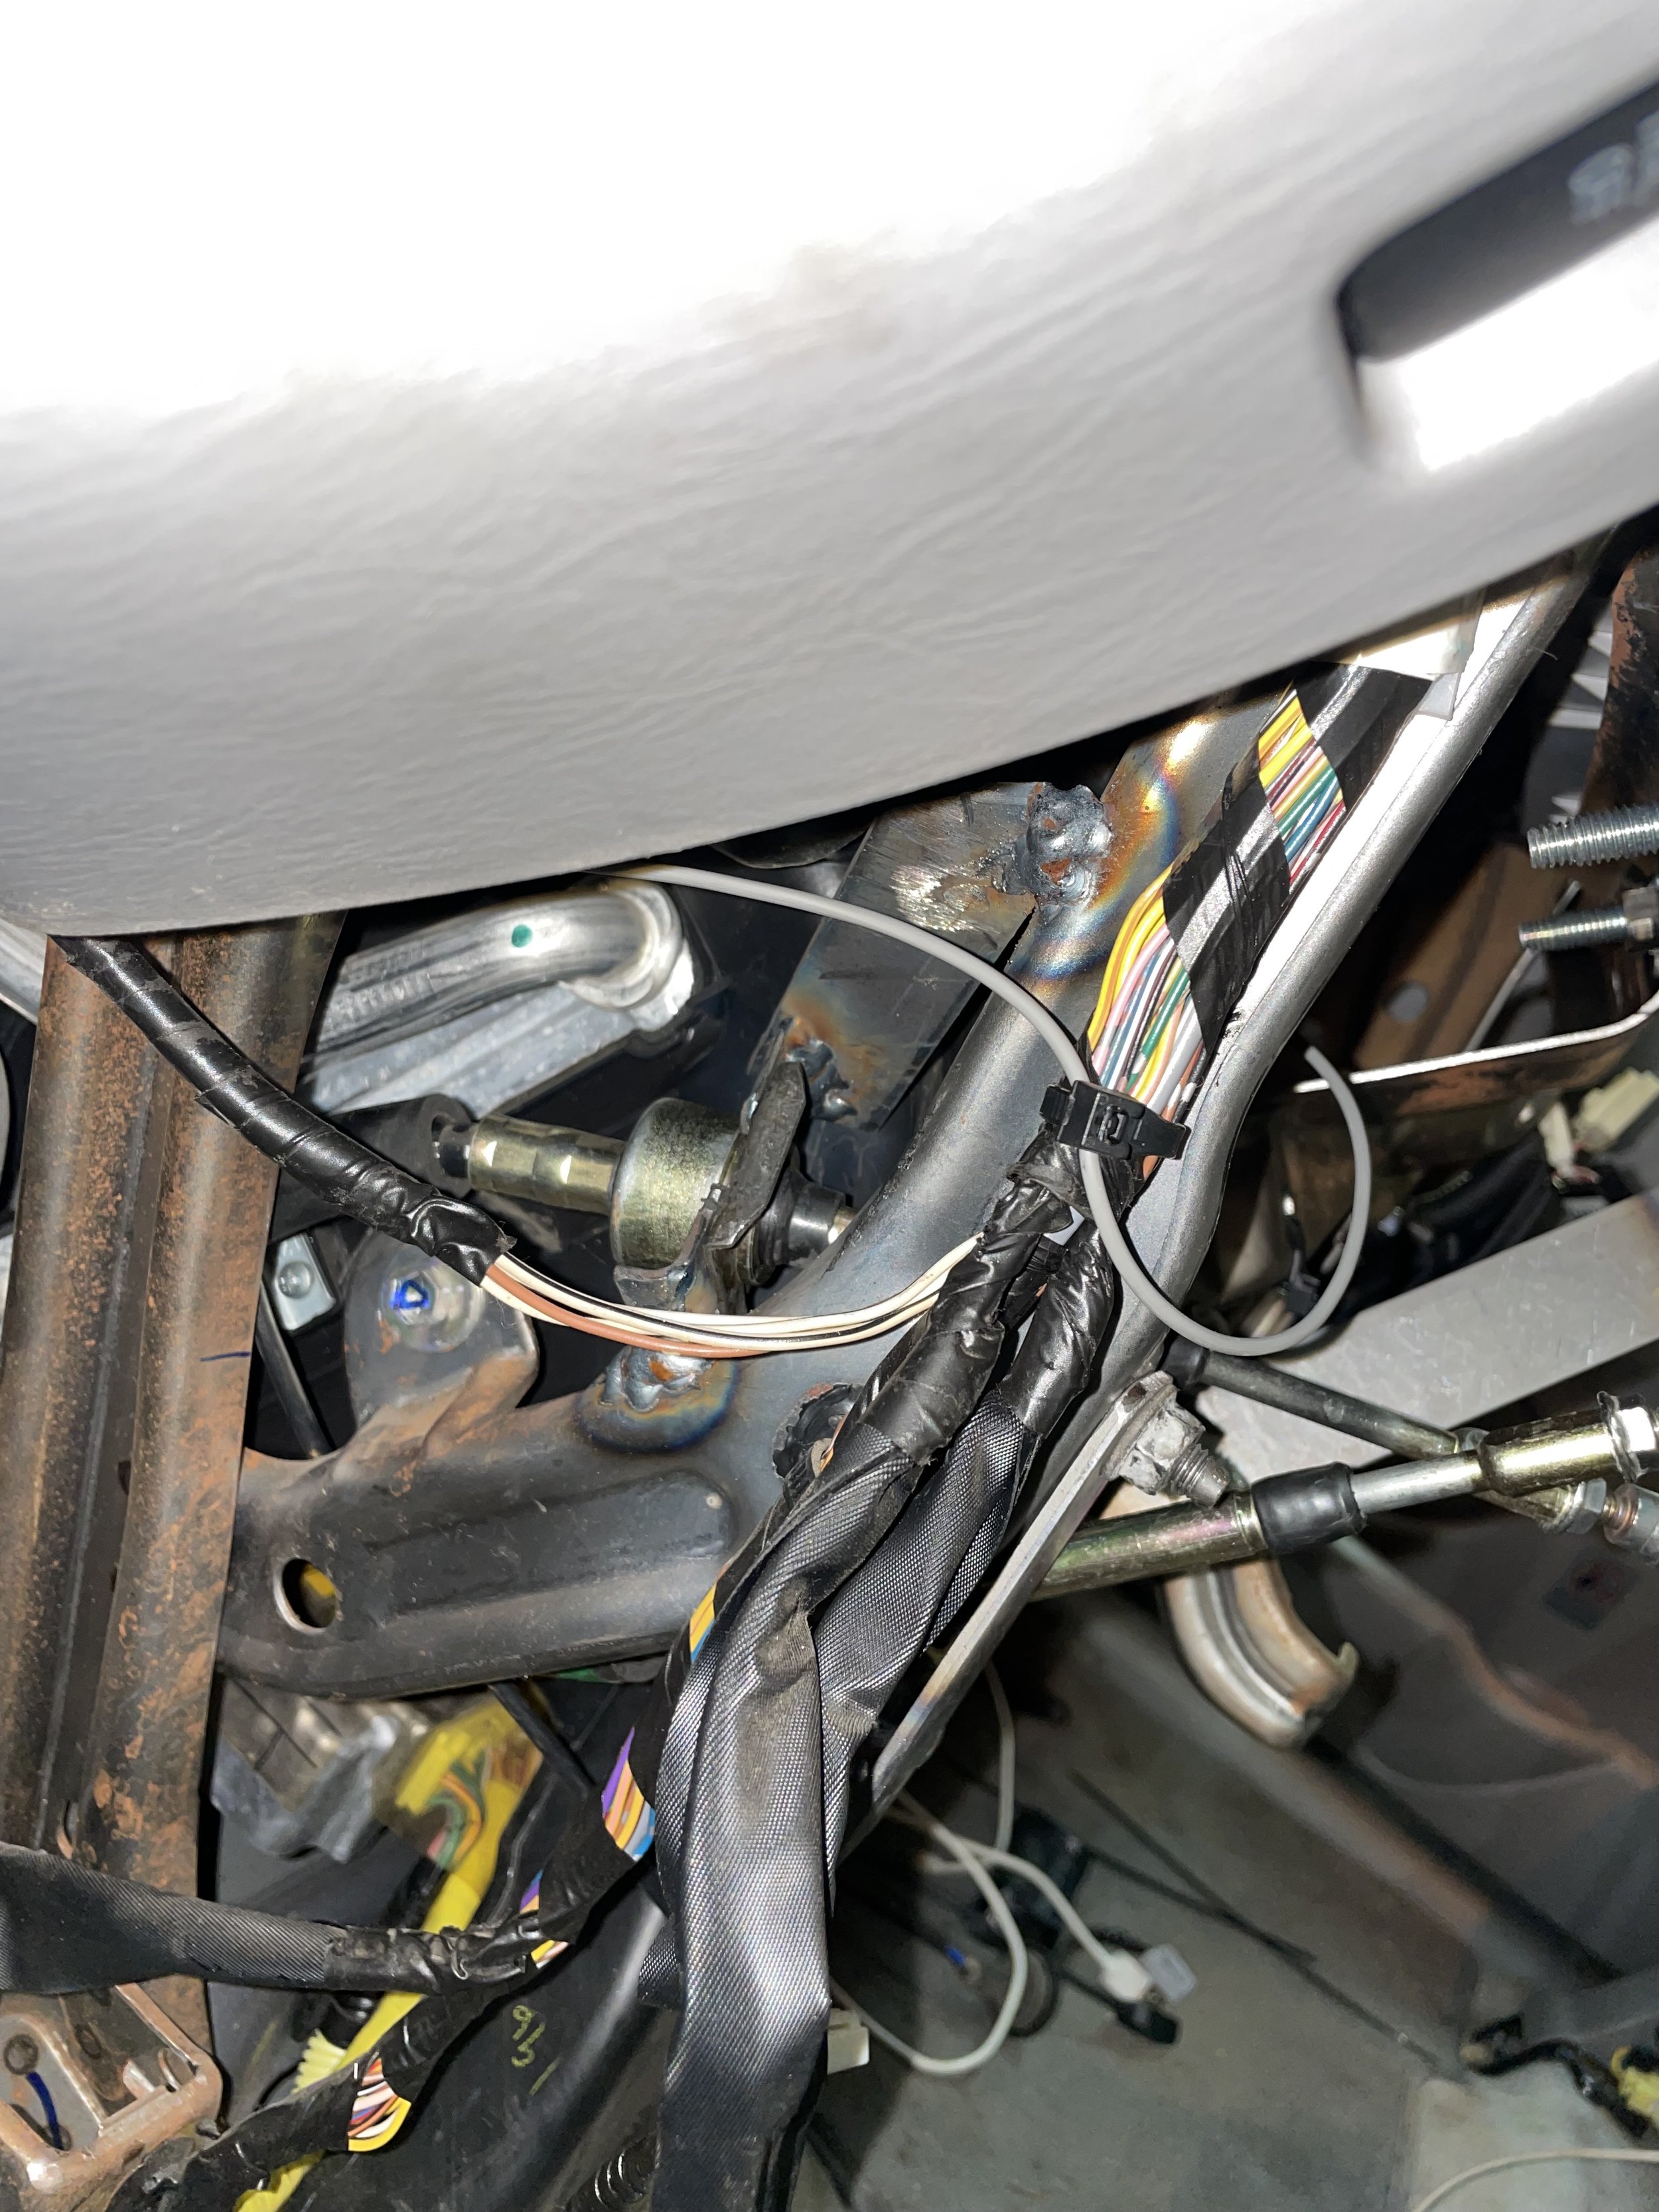
First, wiring. The brake switch wiring needs to be extended. In the engine bay, everything that was connected to the auto was removed with the exception of the wires listed below. I highly recommend purchasing a wiring diagram book on eBay and spending some time looking at it. Here’s the simplest wiring. This will lock the car in drive any time the car is on, while also maintaining reverse light function. Because it is in drive, the power rear doors will not open and will beep if they are open. They still work like normal when the car is off. I would like to find an elegant solution to this issue, but may just put a relay to the parking brake switch to tell the car it is in park when the parking brake is applied.
Park/Neutral Switch P1
Pin 4 - White - connect to pin 5 below
Pin 5 - Violet - connect to pin 4 above
Pin 1 - Red/Black - reverse switch pin 1
Pin 2 - Pink - reverse switch pin 2
Pin 7 - Blue/White - reverse switch pin 2
ECU E5 Pin 11 - Red/Black - disconnect
The ECU does not need to be tuned but the dash will be lit up like a Christmas tree. I tuned the ECU to fix this issue, I have no unusual lights on the dash except for the always illuminated drive icon. Reach out if you want help with this. VF Tuner claims their new software is able to tune any Toyota, so you may be able to do it with that too.
